
The Galaxy S8 camera is pretty fantastic but to unlock its true potential you need to learn how to use some of the more advanced settings such as Pro mode in the Galaxy S8. These settings will help you take advantage of the true potential of your camera to produce better photos.
Setting #1 Pro Mode
Using Pro Mode with your Samsung Galaxy S8+ will allow you to adjust the Shutter Speed and ISO of your phone’s Camera. This will give you greater control in capturing a great image.
When you have your Camera App open, Swipe to the right and from this menu Select Pro instead of Auto. 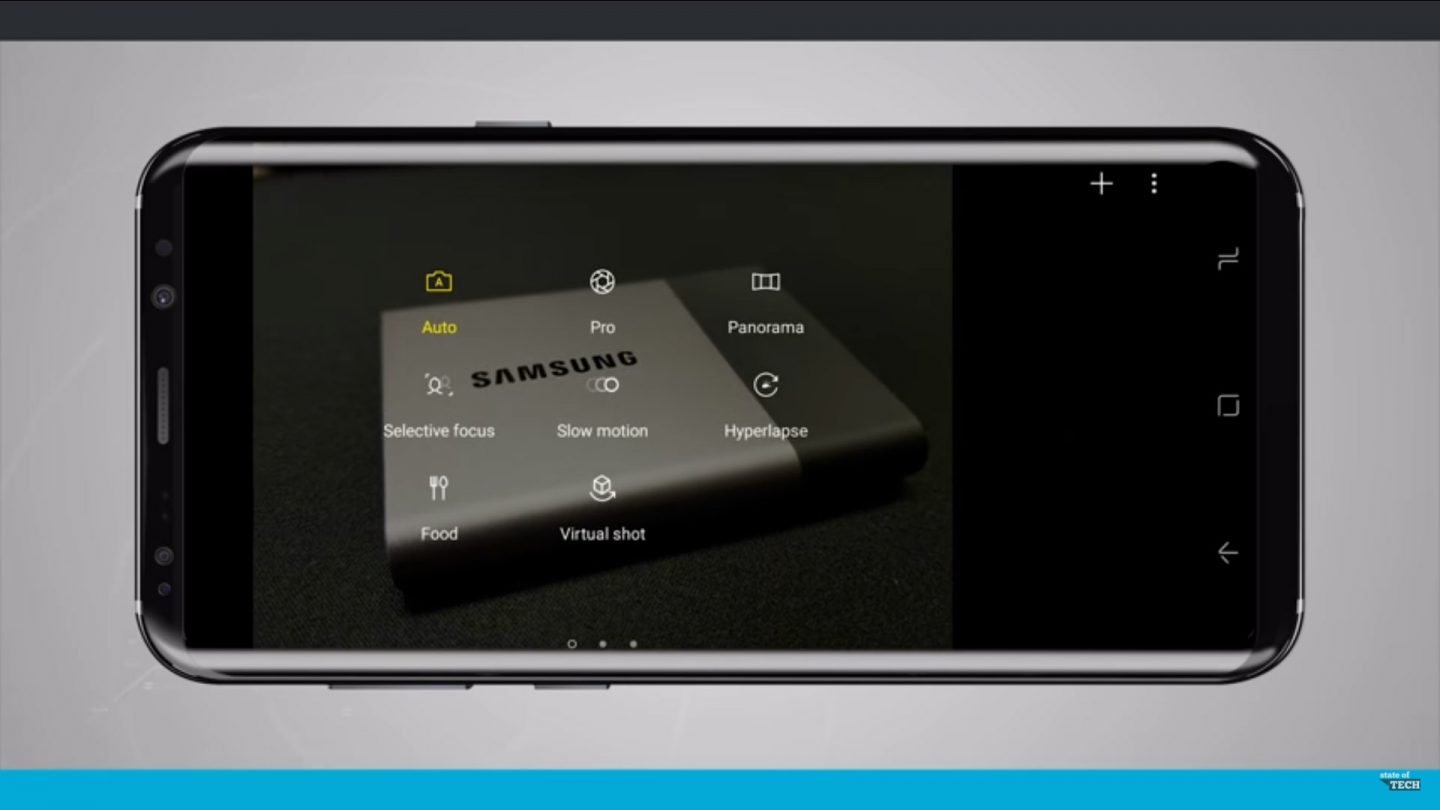
Shutter Speed: Controls how long the camera’s sensor is exposed to light. While there is no shutter physically on this camera, this is controlled on the S8+ digitally. A faster or higher bottom number on your Shutter Speed will be good for fast action. A lower number will often result in motion blur, but will handle low light situations better. 
ISO: Controls how sensitive the camera’s sensor is to light. The lower the number, the less the sensor has to work. The higher the number, the harder the sensor has to work. More grain and noise will show up on your image if you go with a higher ISO, but a higher ISO might be needed for darker environments. 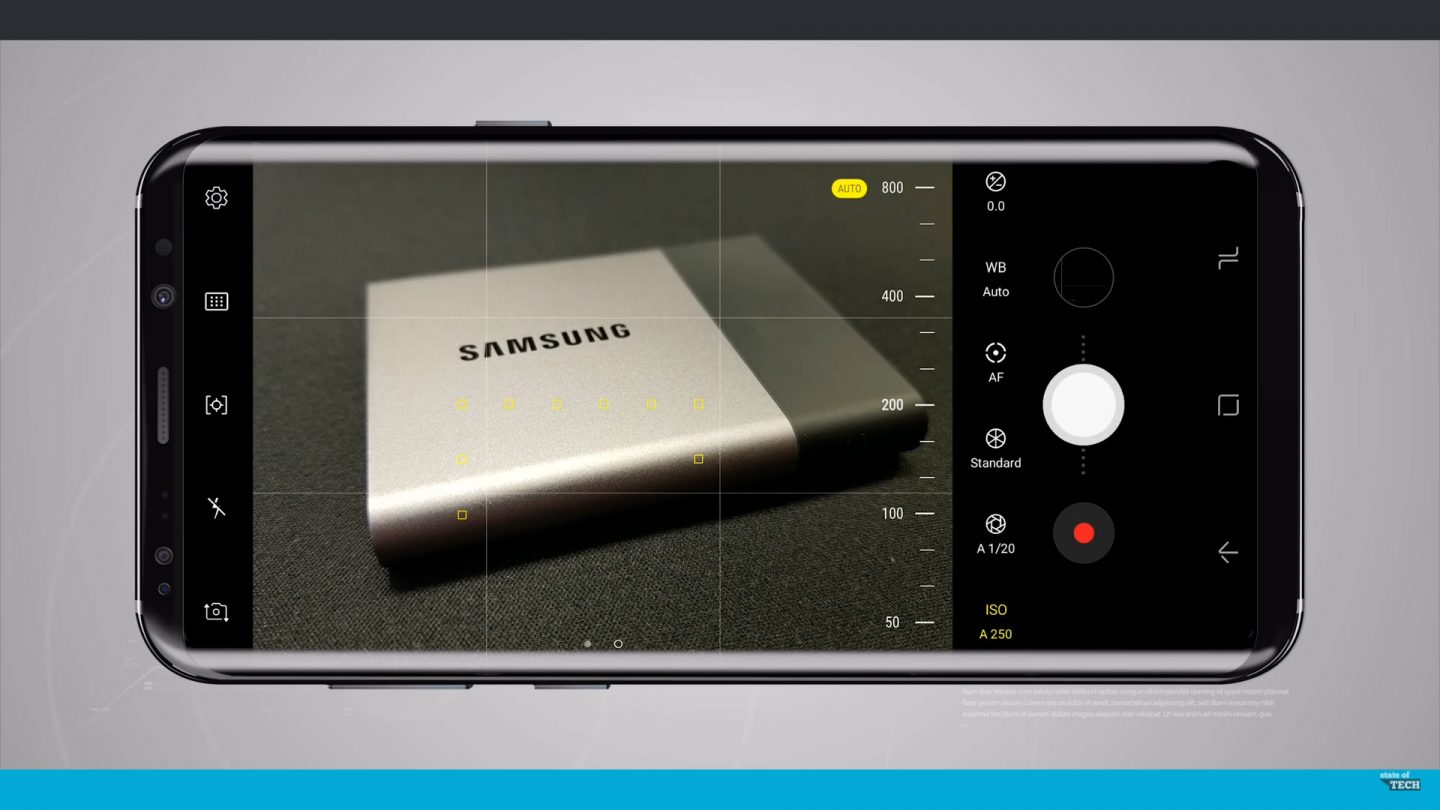
Finding the right balance between the Shutter Speed and the ISO will greatly help your photos turn out the way you want them to.
Setting #2 Manual Focus
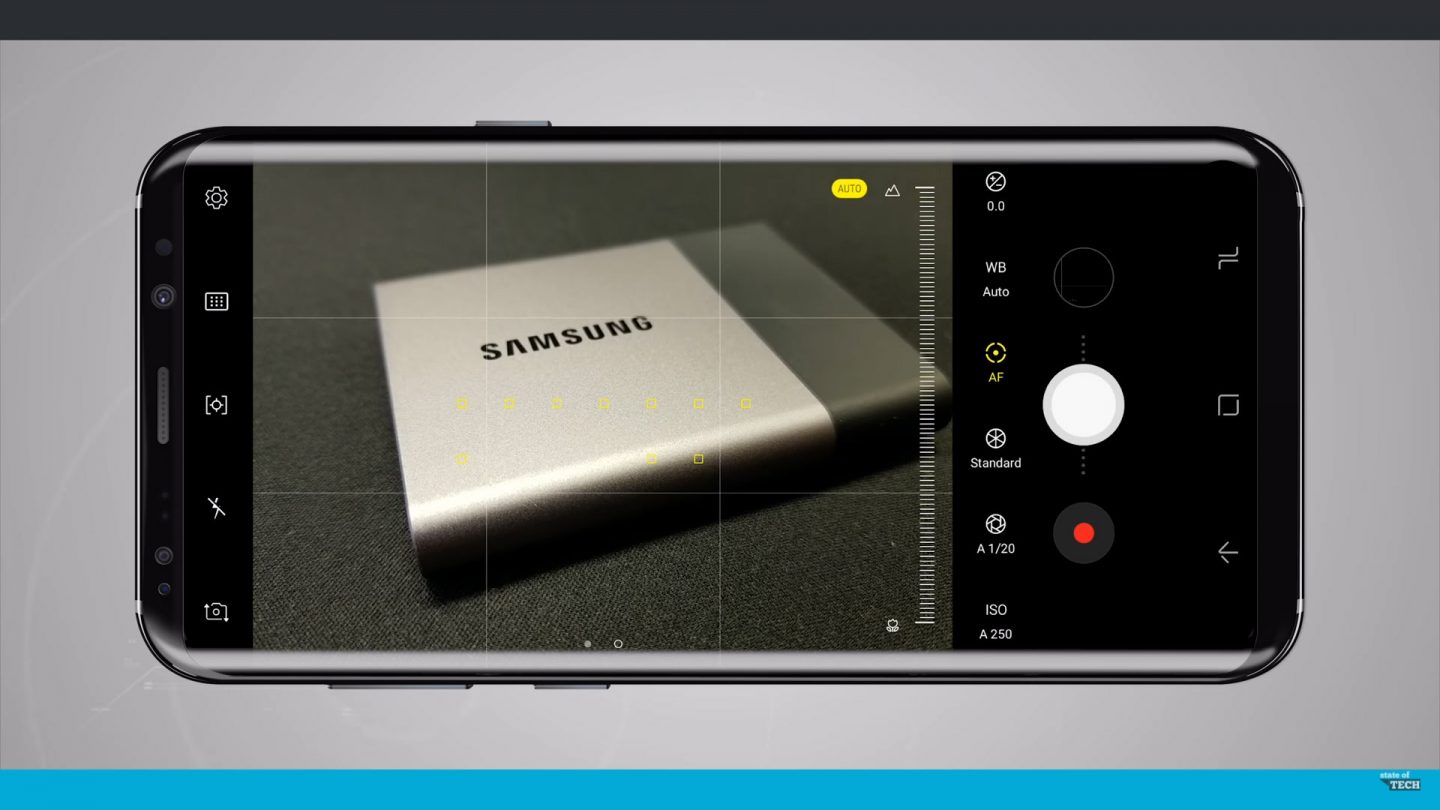
While in Pro Mode, the option for Auto Focus or AF will be selected by default. You can change this to Manual or MF by simply touching the option on the screen. The slider on the right will allow you to adjust the manual focus like a focus ring on a camera lens.
Setting #3 White Balance
Sometimes the Camera’s assumptions about color settings are wrong or not matched to what you actually want. Setting the white balance yourself can result in a much better, more color accurate image. Tap on WB for White Balance Settings. You will be presented with a lot of different color temperature options. Both the presets and sliders will give you a good range of options to find the right color for your image. 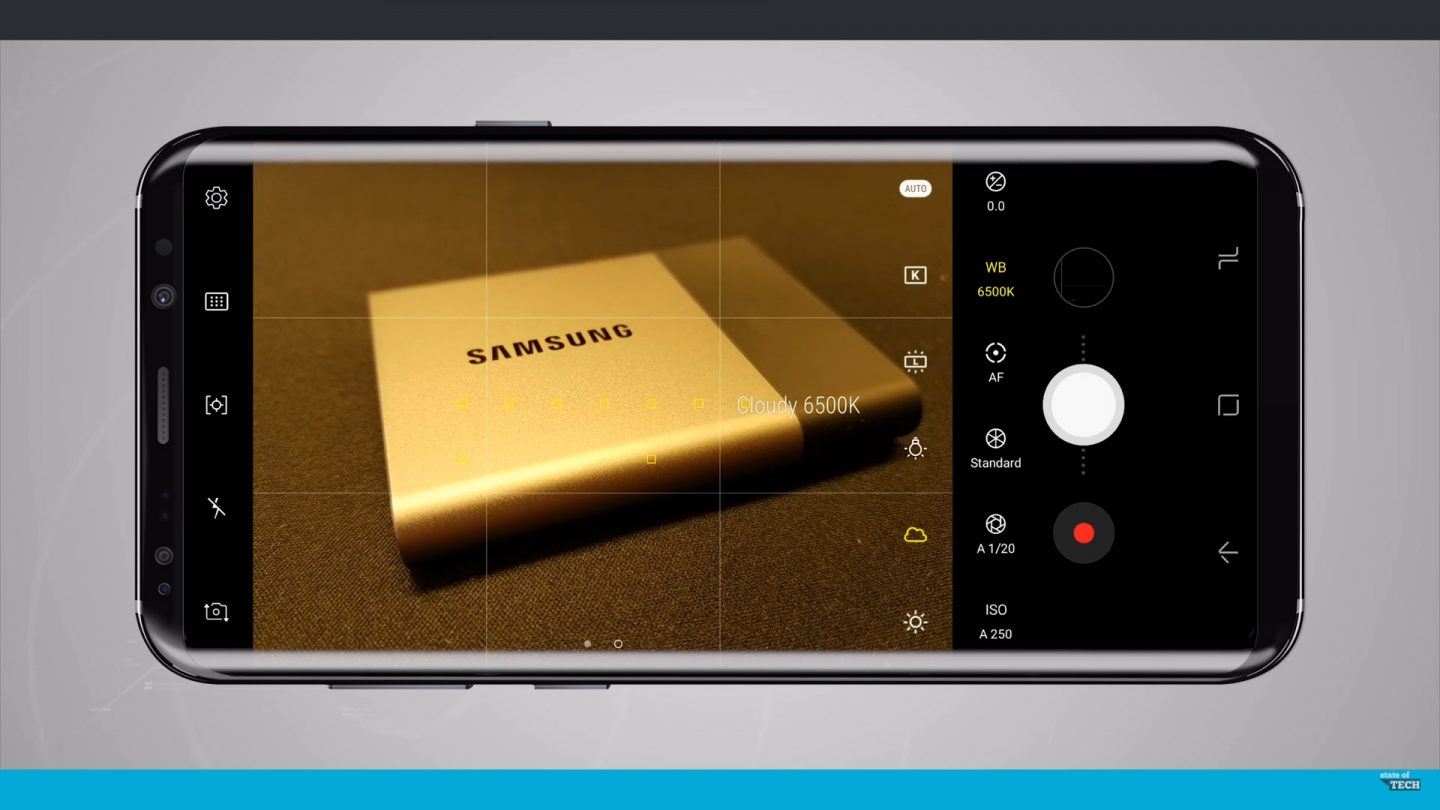
Setting #4 Metering Mode
Tap the framed circle icon on the left-middle part of the screen to cycle through your different metering modes.
Spot Metering looks throughout the overall image and guides you in your settings. On the top right of your screen, there is an exposure compensation icon that can adjust the plus or minus of your exposure. When metering, I usually select this mode and use it as a guide for making the adjustments. 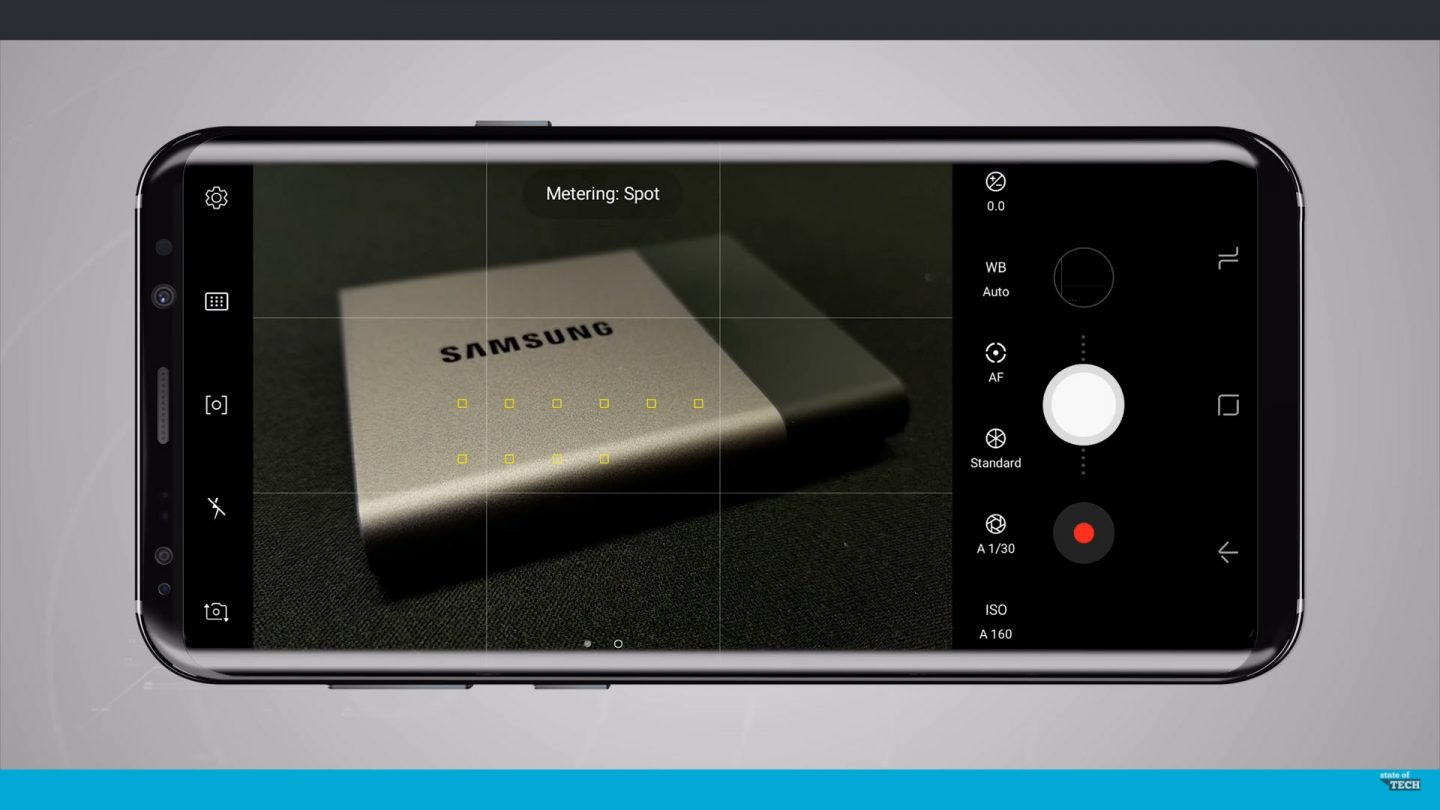
Center Weighted looks more toward the center of your image for its data. This mode is great for Portraits.
Setting #5 Tracking Auto Focus
Sometimes, Manual Focus is not ideal. You might be taking photos or videos at your kid’s soccer game where this is a lot of movement. Tracking Auto Focus is extra helpful in this scenario because it will move with the focal point you select. Tap the Gear icon on the top right part of your screen to access your Camera’s Settings, and toggle Tracking AF on. ![]()
While in this mode, simply touch the part of the screen that you want to focus on and the S8+ will intelligently keep track of the subject you select. ![]()
Bonus Tip Shoot in RAW
Save your photos as both Jpeg + RAW if you plan to edit any of them later without affecting their overall quality. Access your Camera Settings by selecting the Gear icon in the upper left corner of the screen. 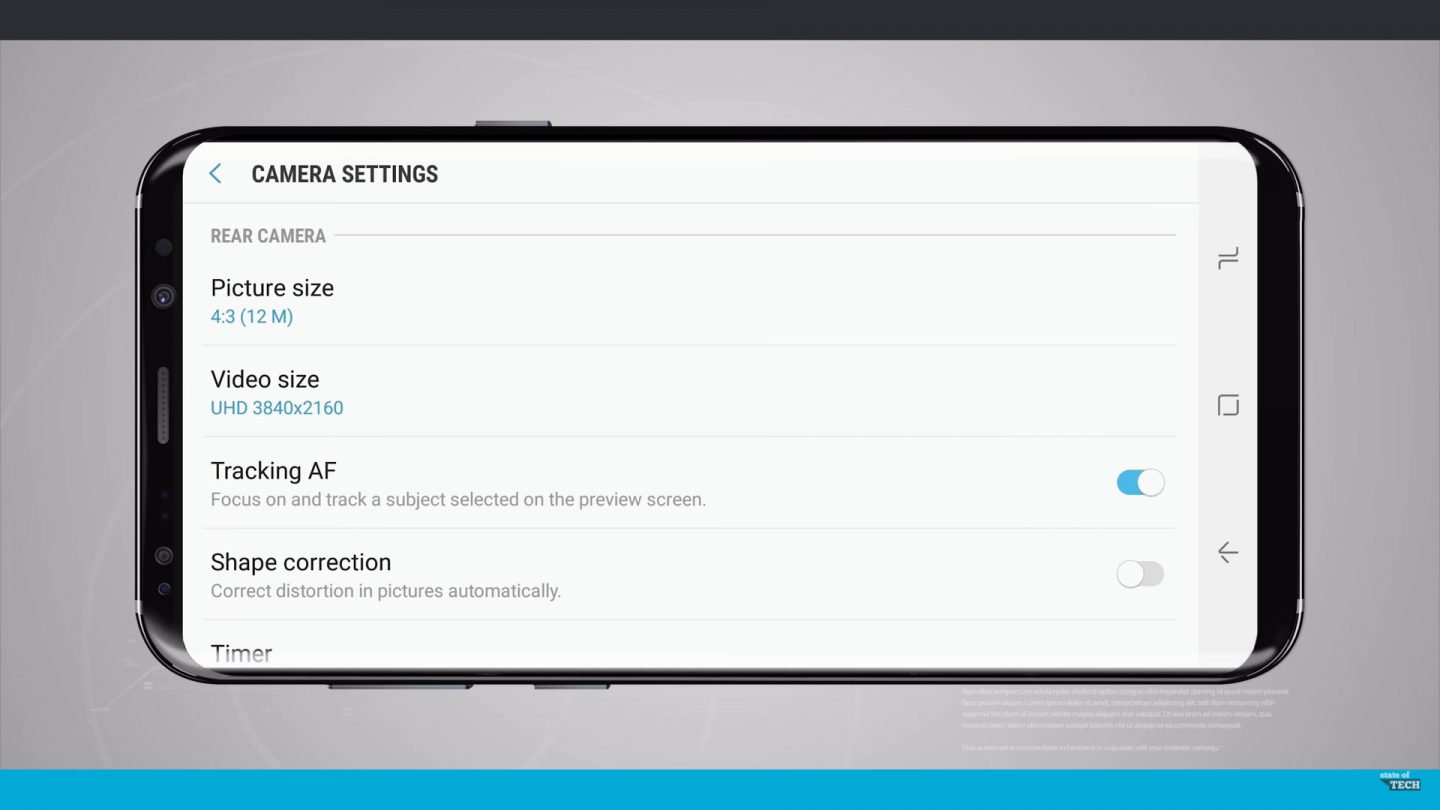
Select Picture Size and scroll down to Save RAW and JPEG files and toggle this feature on. This option is only available if you are already in Pro Mode. 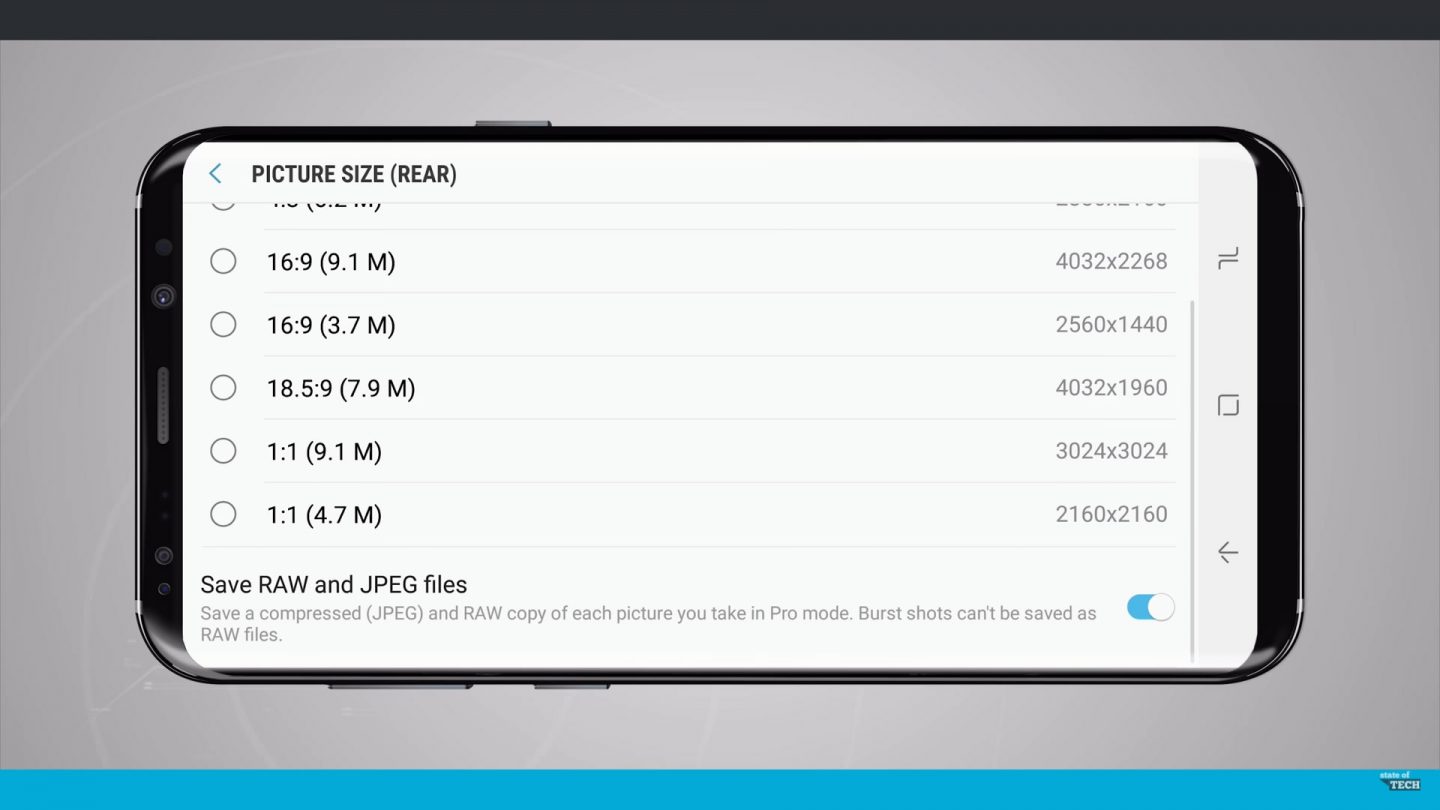
These RAW files will be considerably larger since it is saving all of the image data it possibly can without compression, so I advise you to use this option in conjunction with a large Micro SD Card. I’m presently using a 64GB card and I still have plenty of space left on the card after a good amount of use.
Buy the Galaxy S8+: http://amzn.to/2f9wkST
Buy the Galaxy S8: http://amzn.to/2x5v2hR


You must be logged in to post a comment.