
Glacier National Park’s stunning 1 million acres have lost 125 of their namesake glaciers since the mid-19th century.
The “Crown of the Continent Ecosystem” now has only 25 active glaciers left, which makes glacier national park photography more significant than ever. Your iPhone can be just as powerful as professional cameras when you document these disappearing wonders, along with the park’s breathtaking landscapes and wildlife.
My countless hours photographing the park have captured everything from snow-capped peaks in early summer to vibrant wildflower meadows in late season. The best news? You don’t need expensive equipment. The iPhone in your pocket works perfectly to capture mountain goats on the Highline Trail and the pristine waters of Avalanche Lake.
Would you like to use your iPhone as a professional-grade camera for mountain photography? Let’s discover how to capture the magic of Glacier National Park. We’ll cover the best seasonal spots and professional techniques that will make your photos stand out.
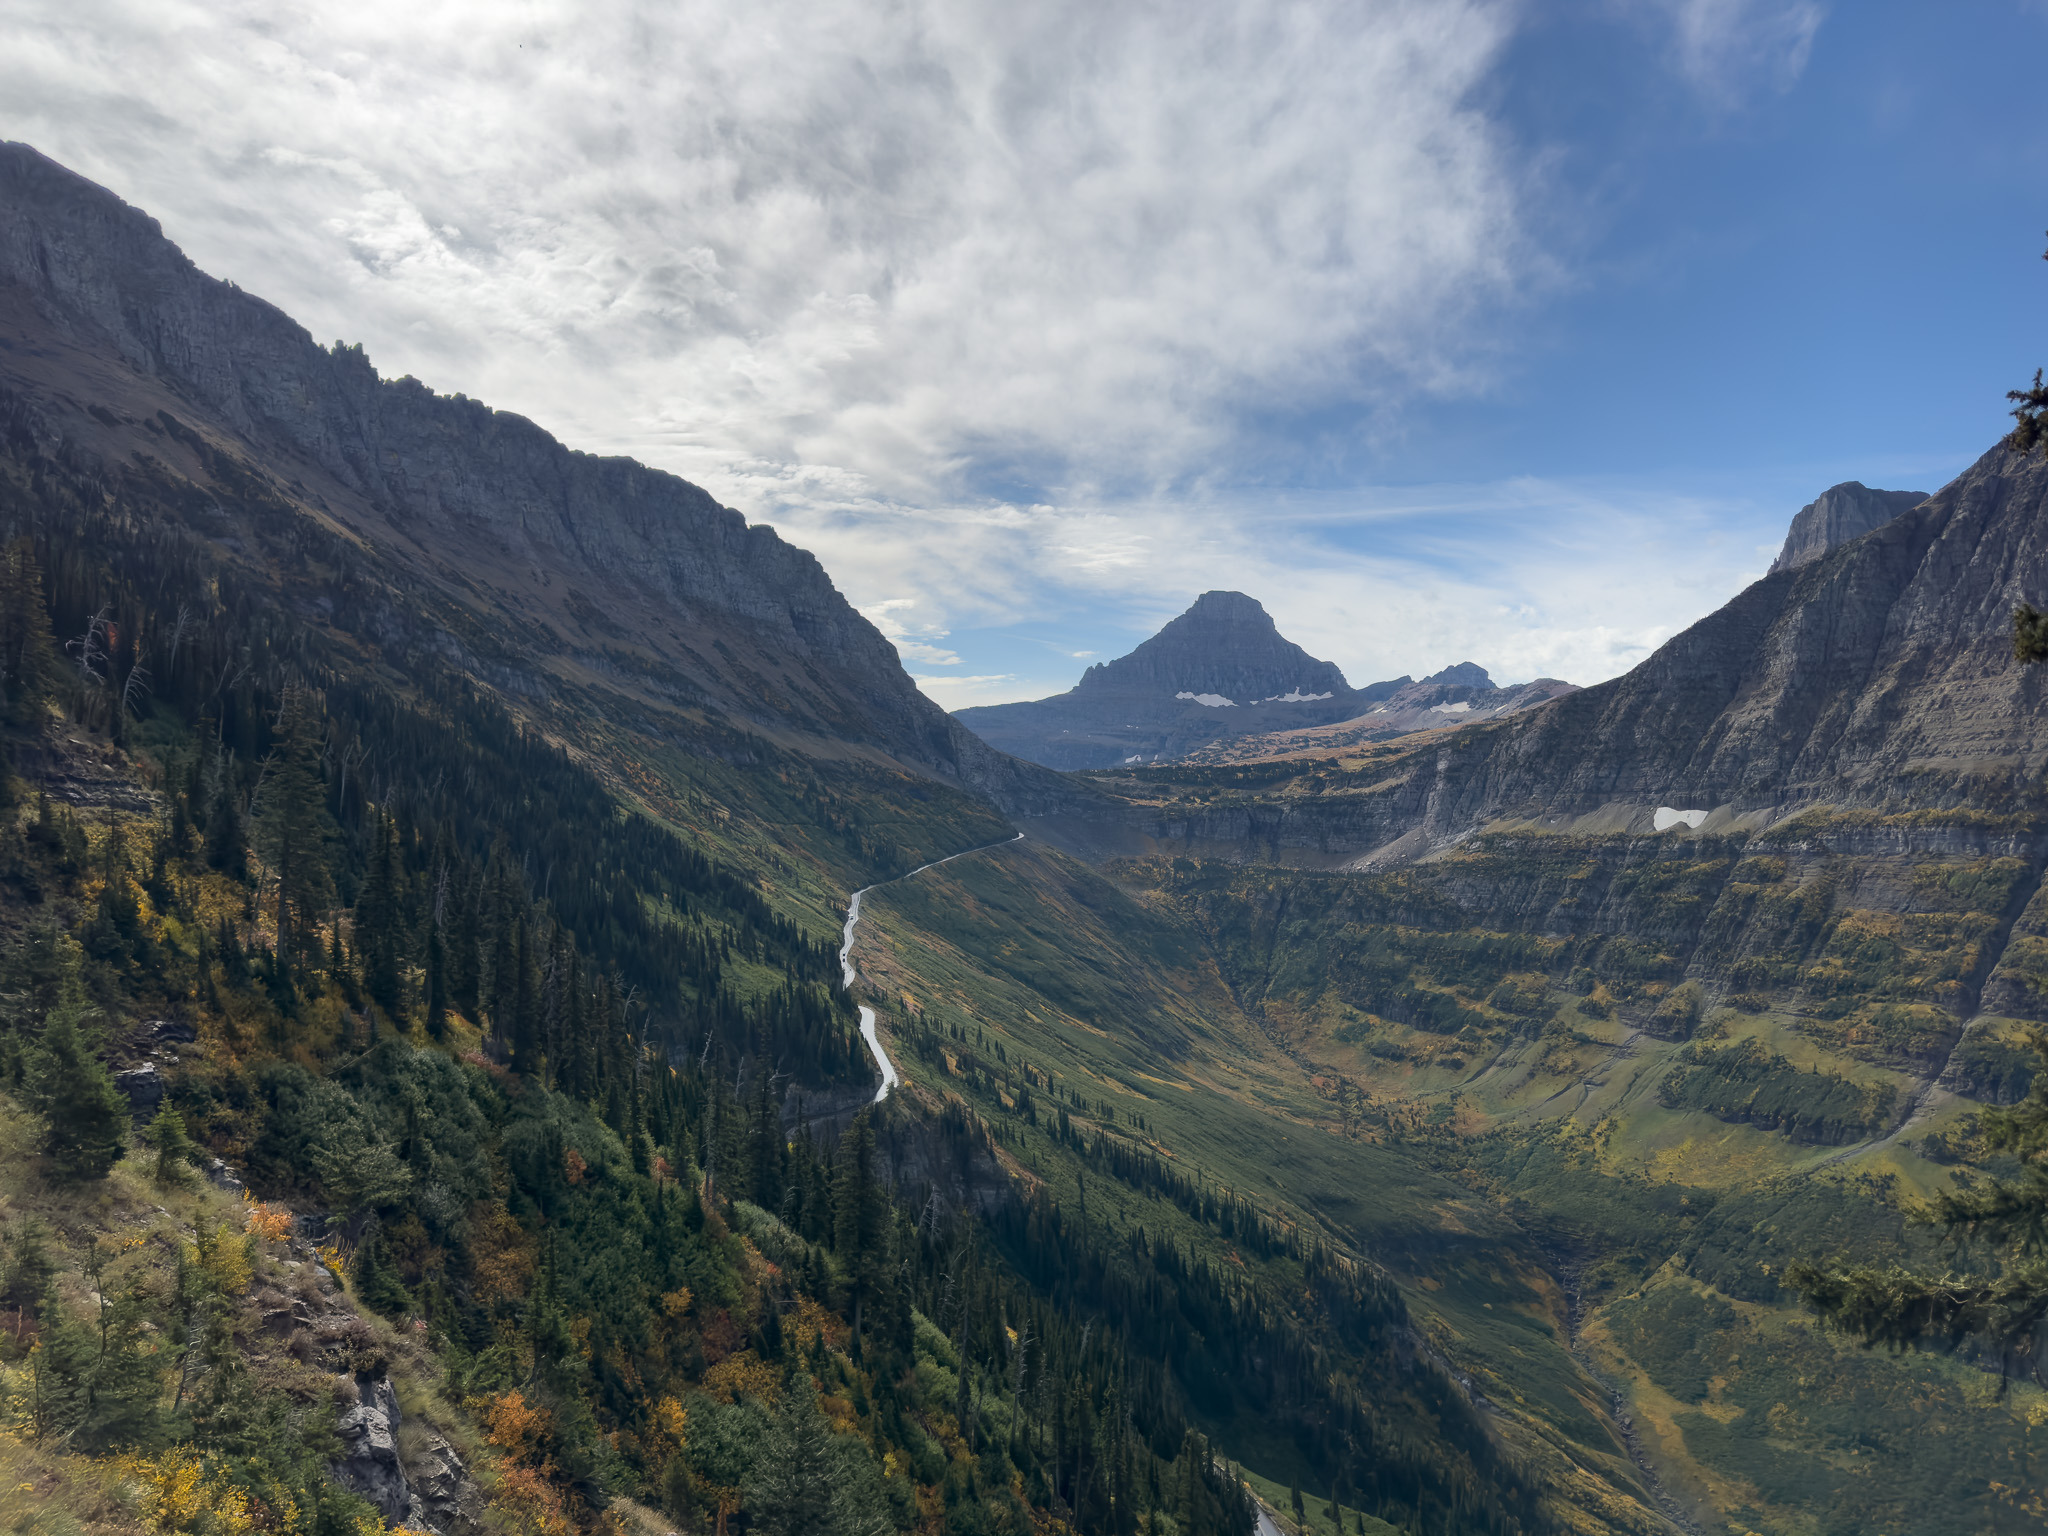
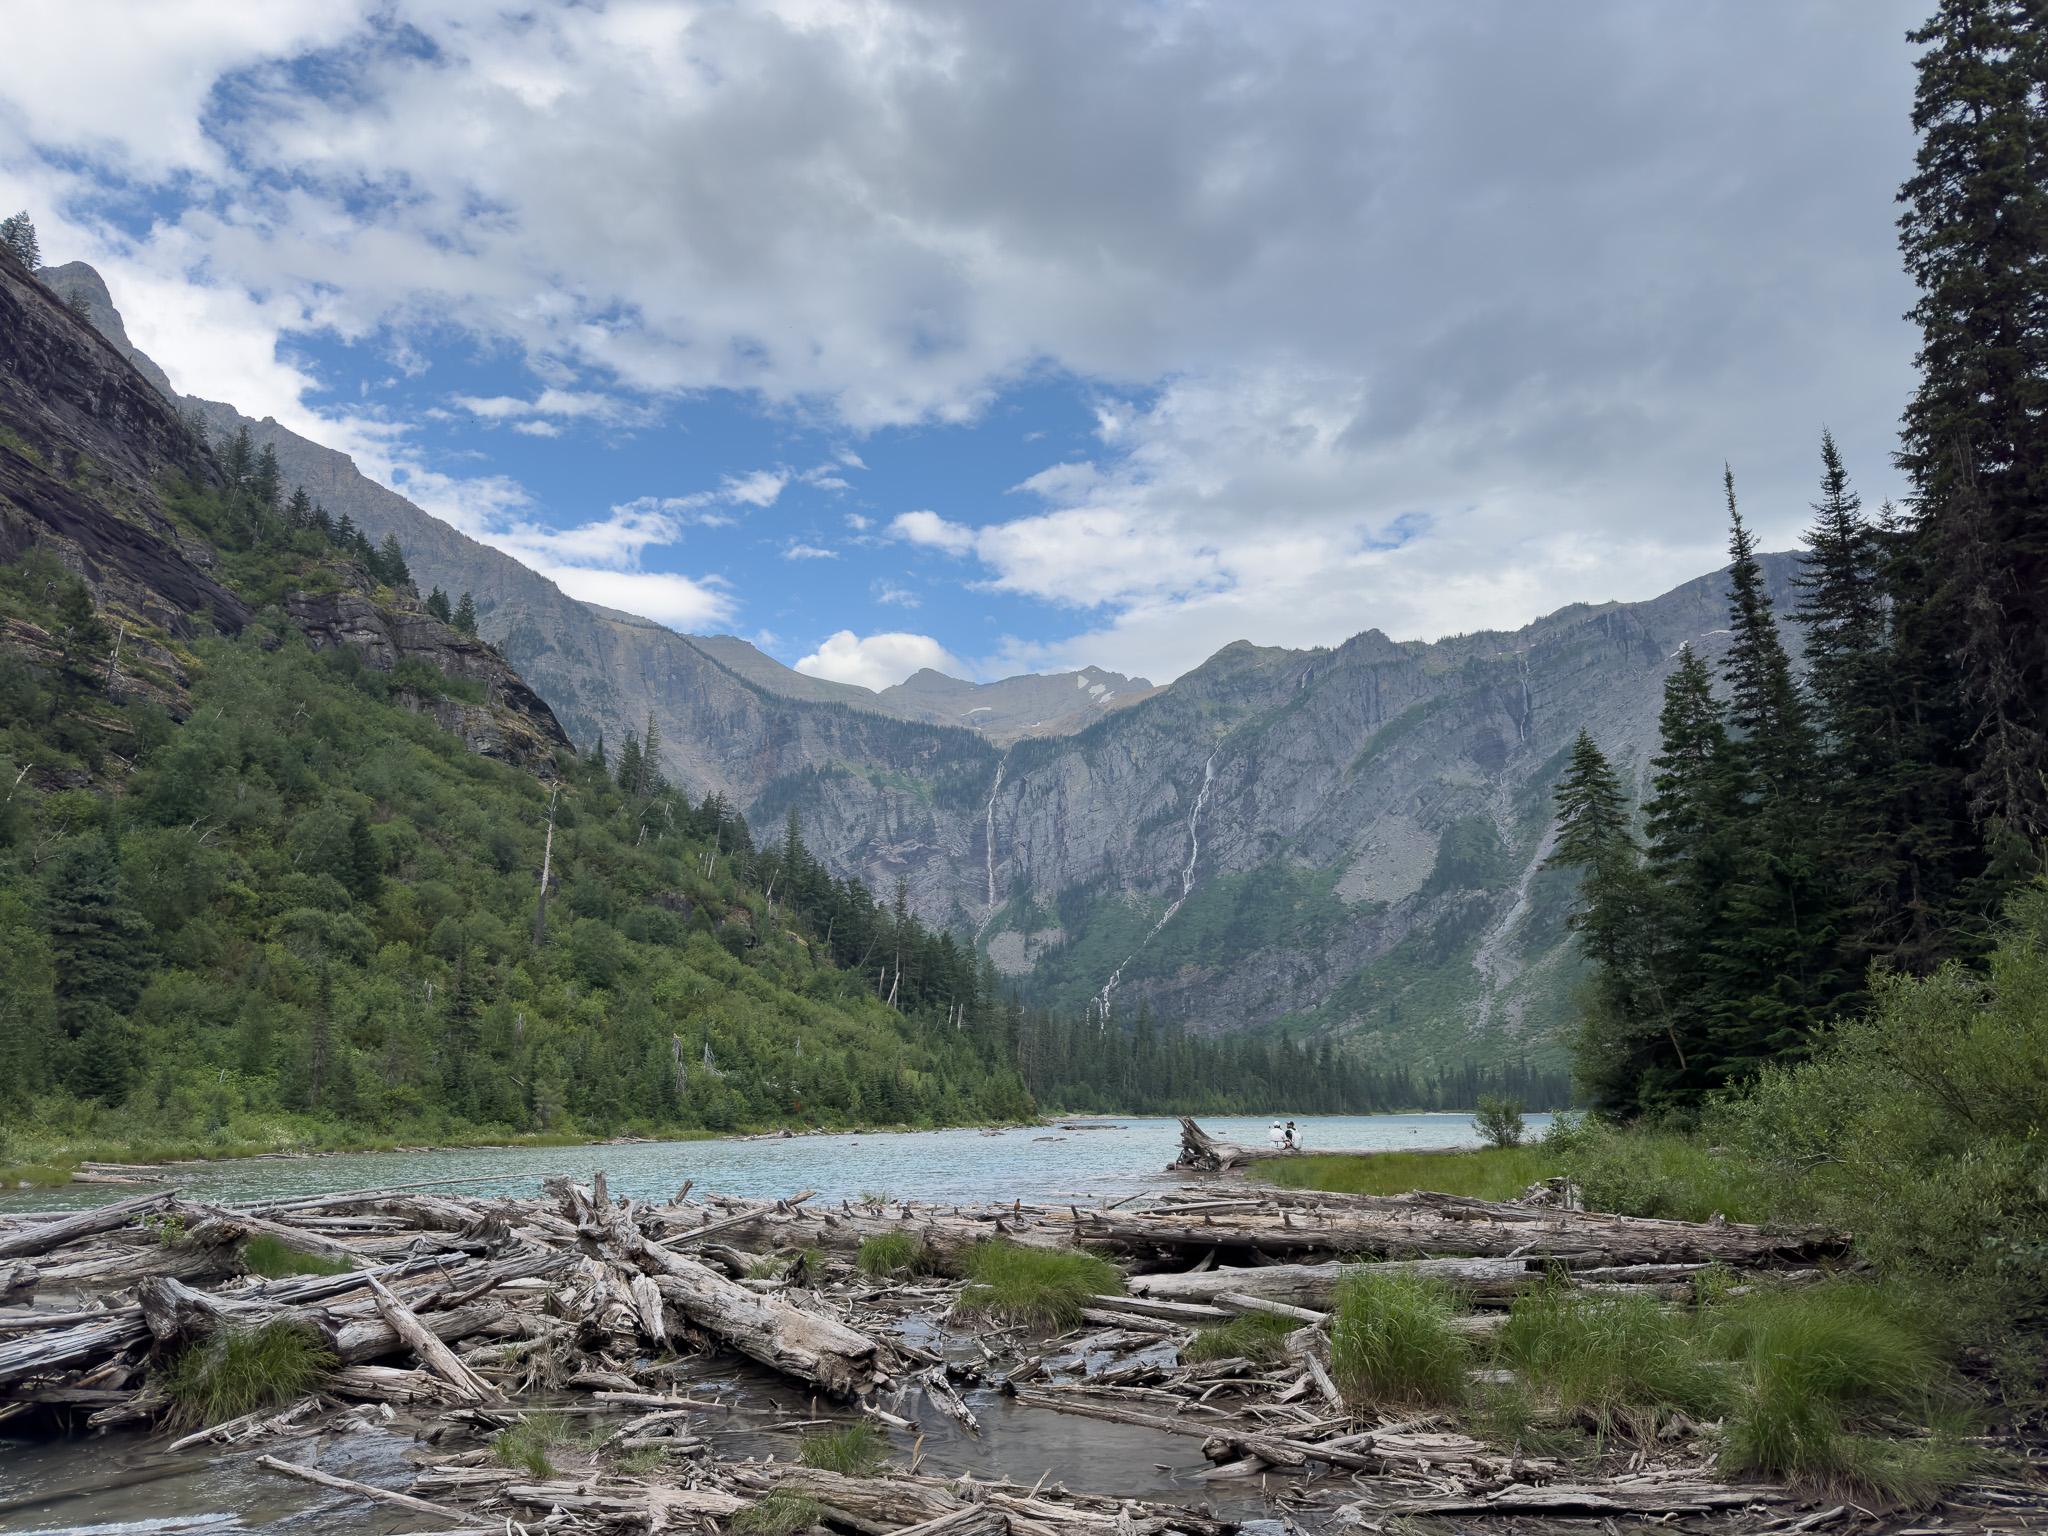
iPhone photos captured by Jerad Hill, straight out of camera, no editing.
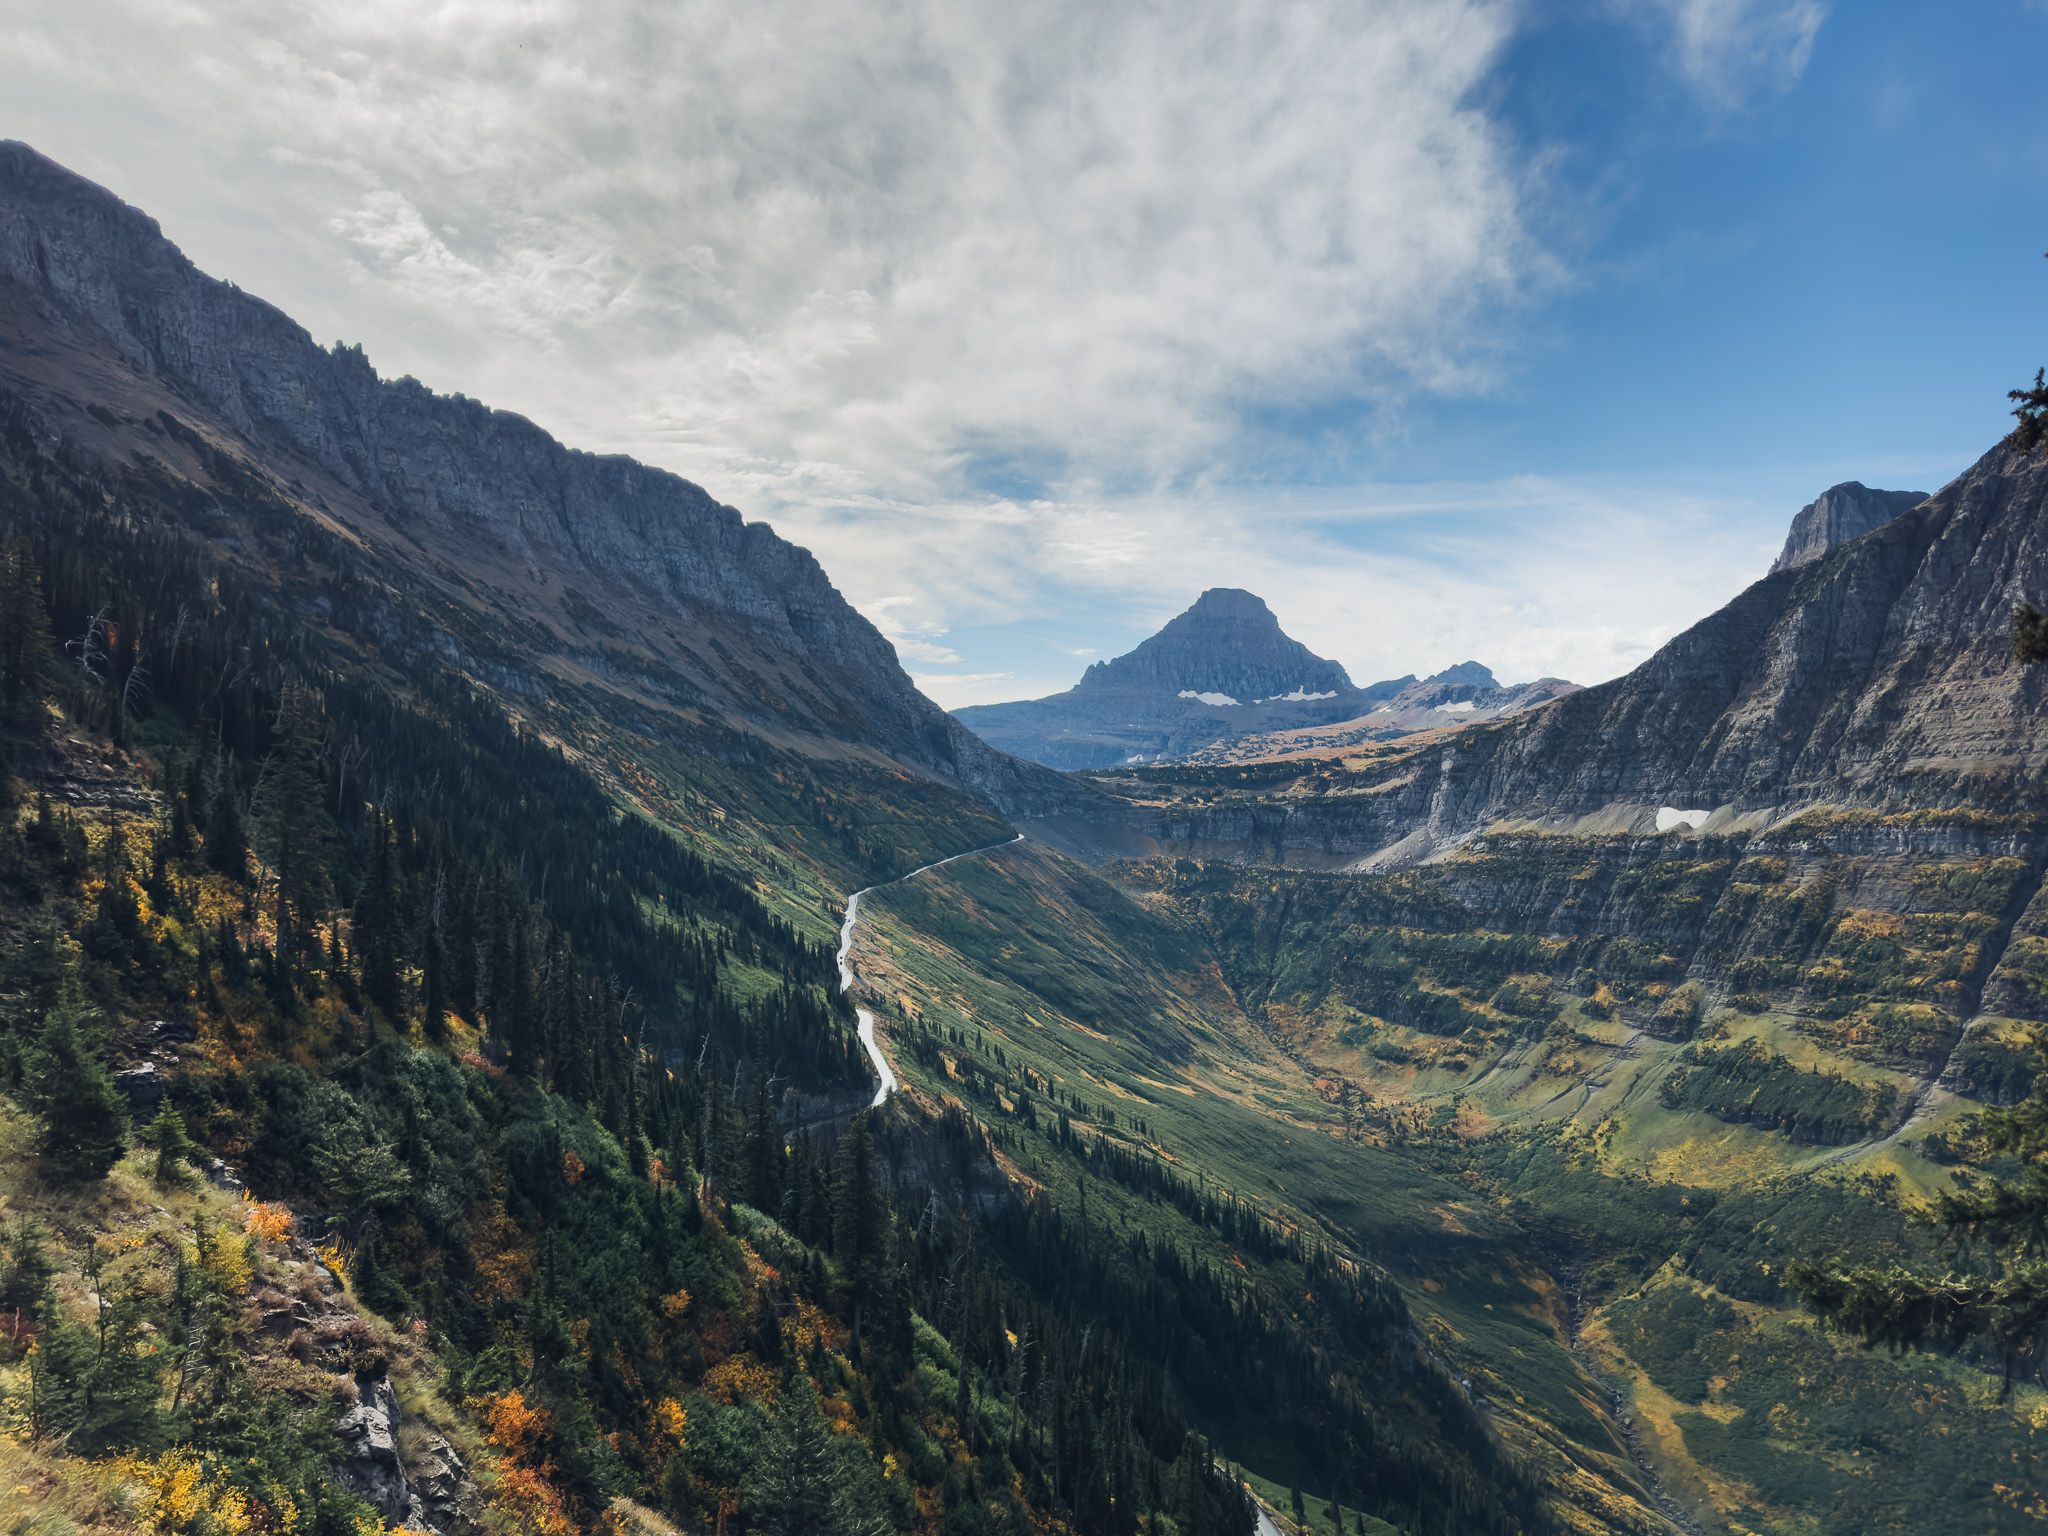
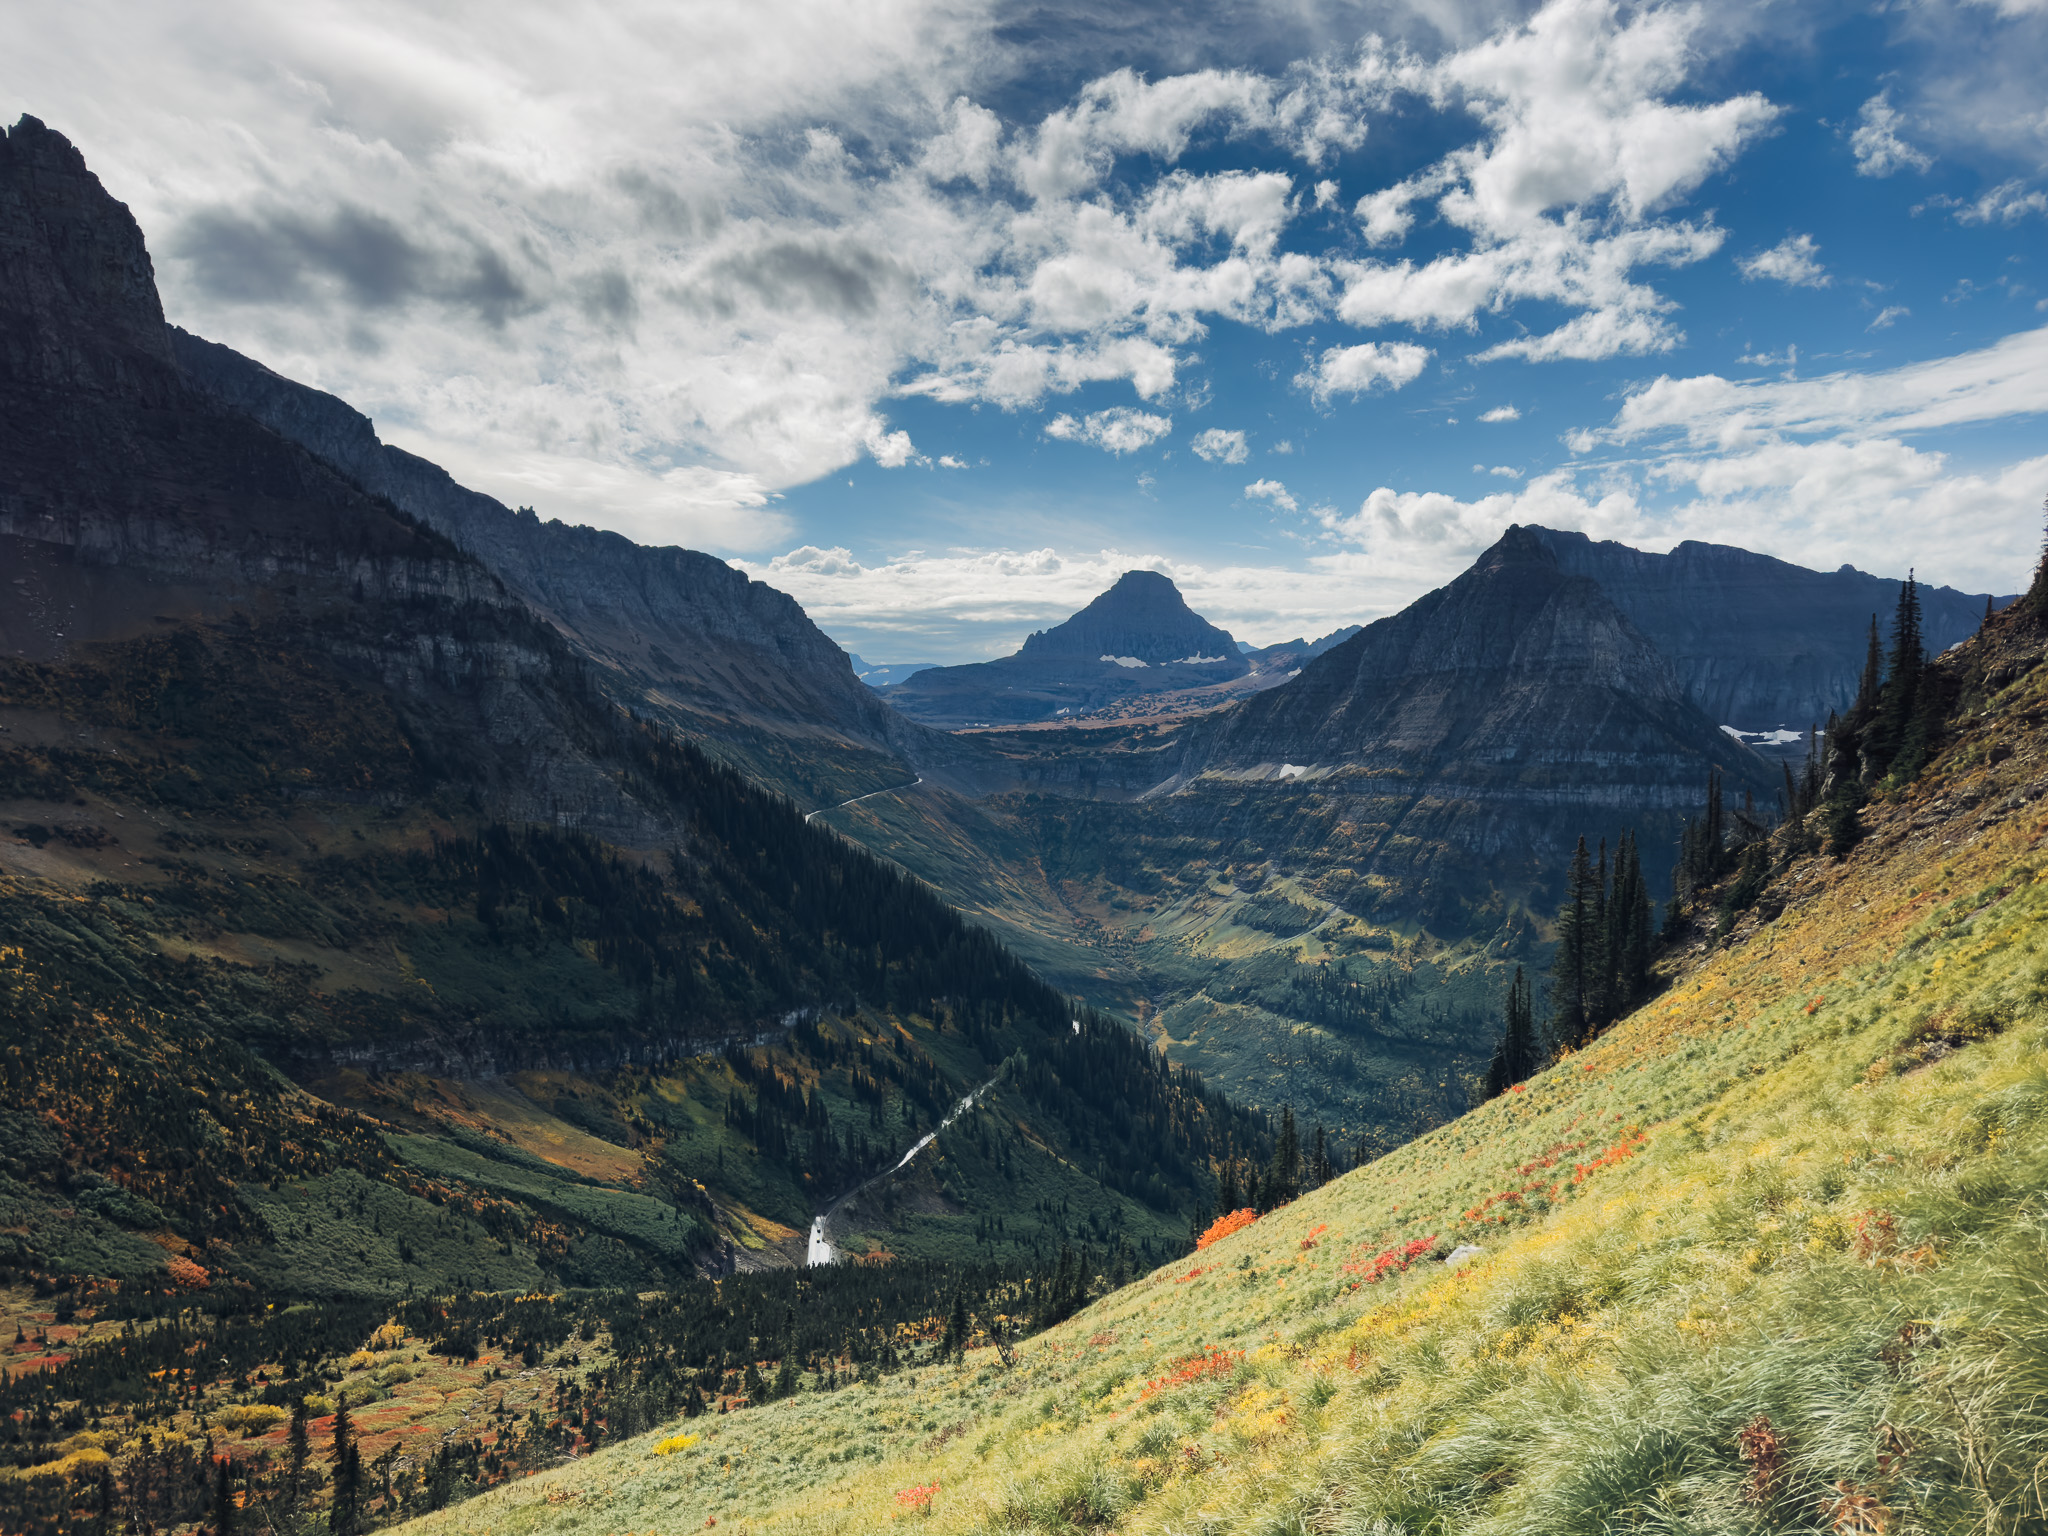
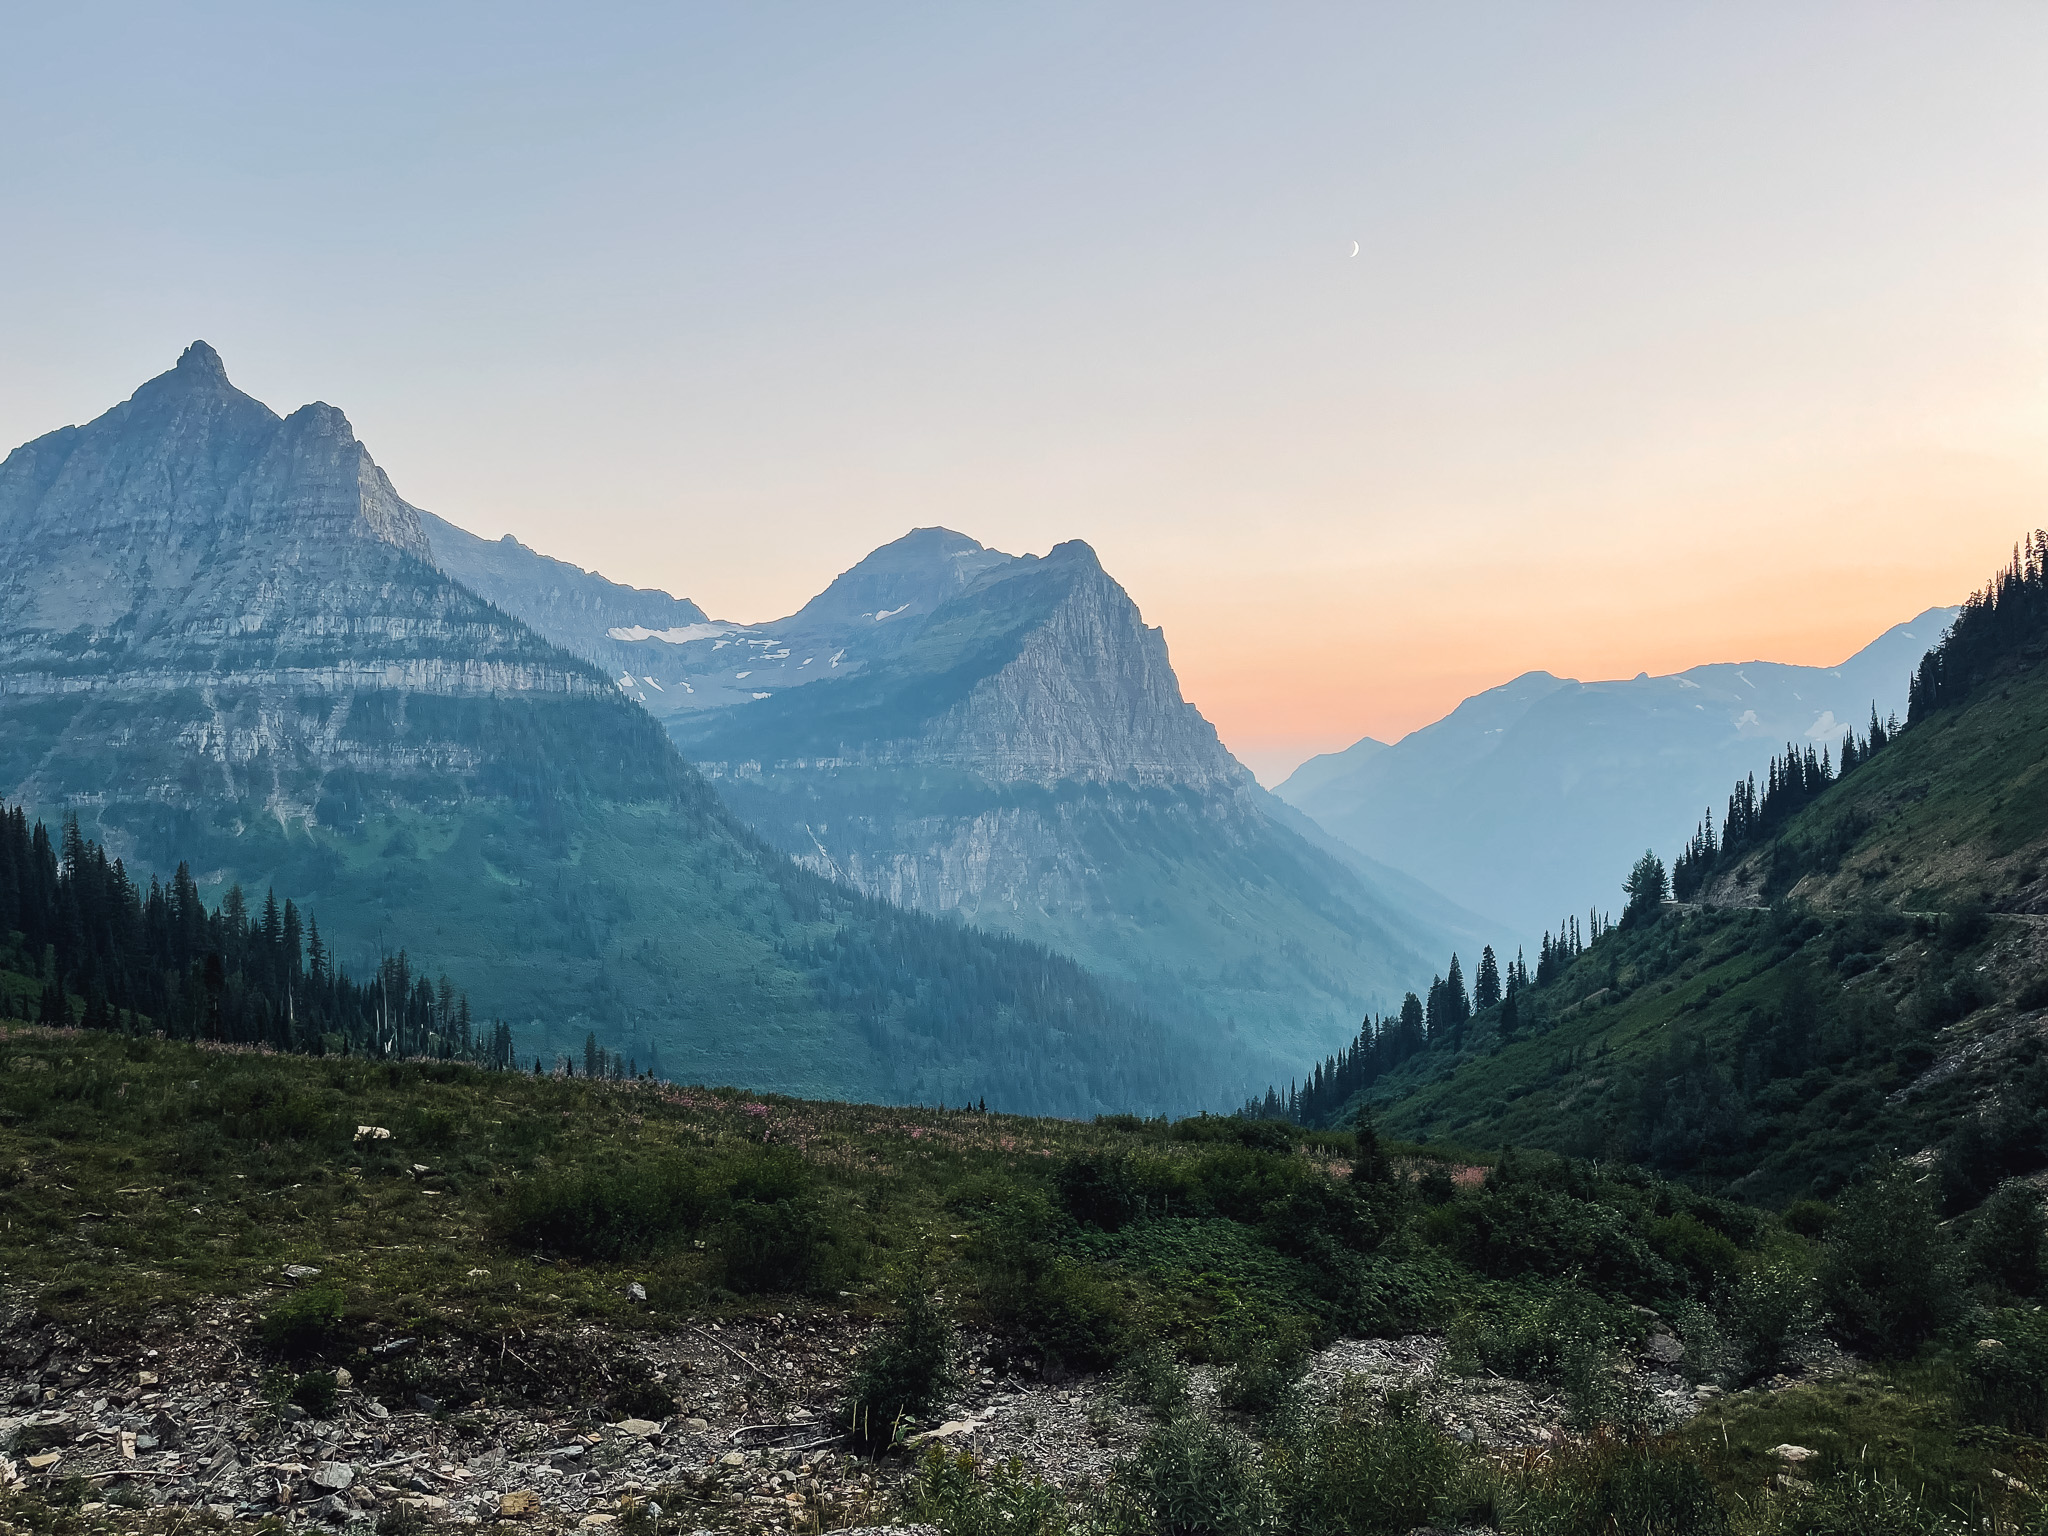
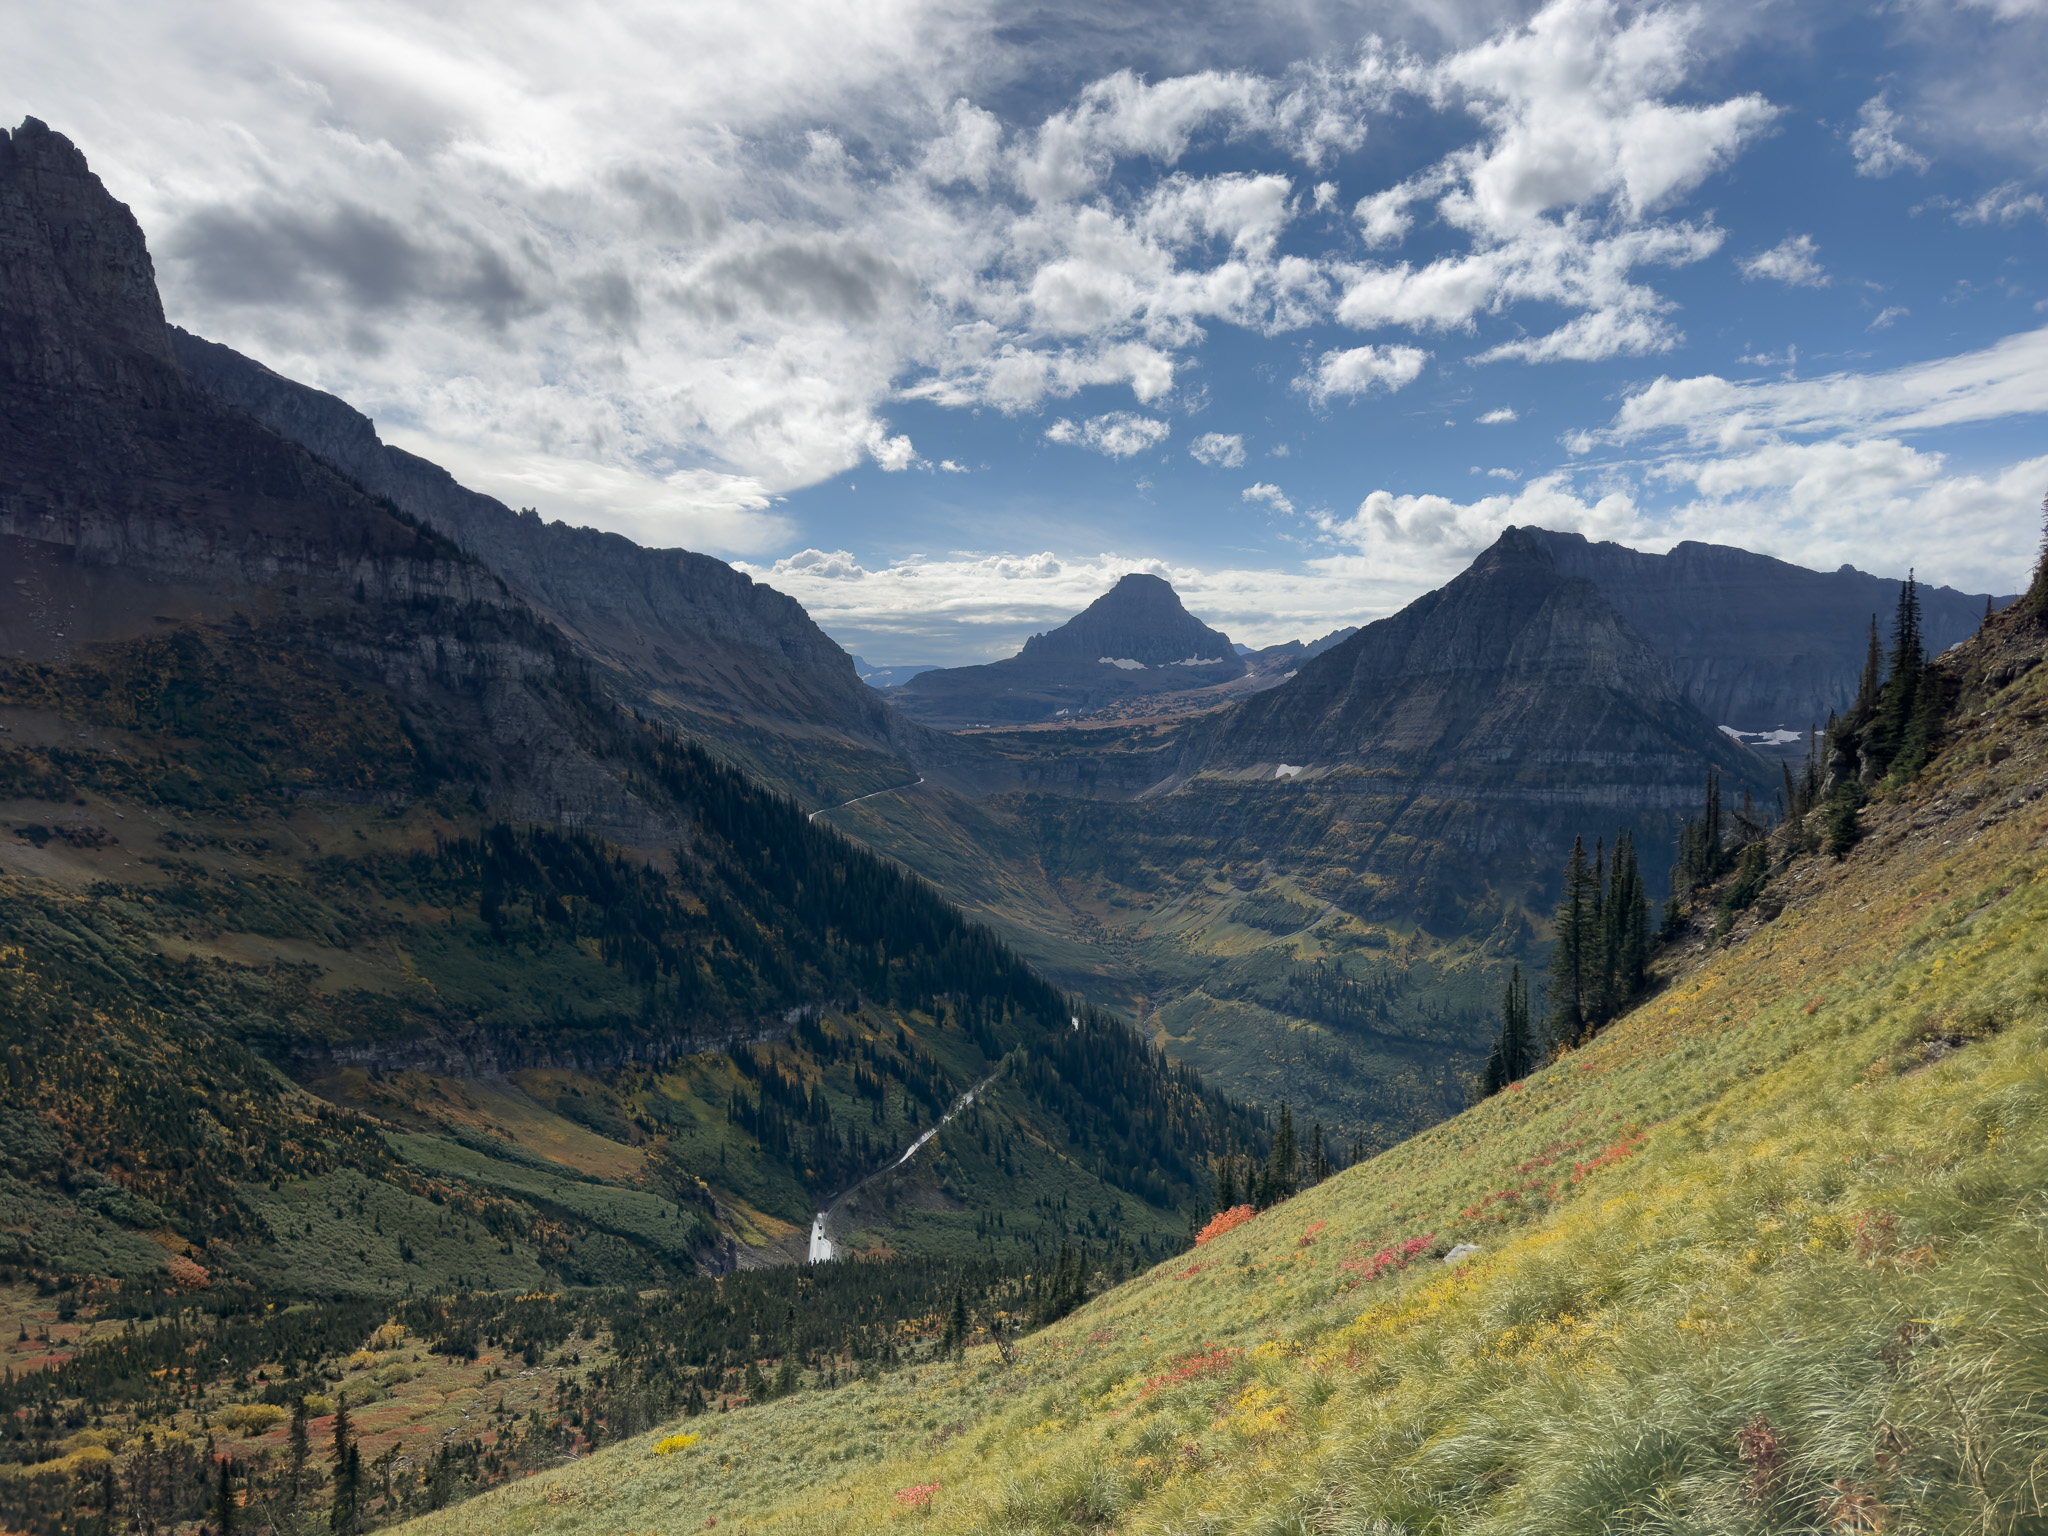
iPhone photos captured by Jerad Hil, edited in Adobe Lightroom Mobile.
Essential iPhone Camera Settings for Mountain Photography
Your mountain photos will look dramatically better when you know how to use your iPhone’s camera settings at Glacier National Park. These key settings will help you take better mountain photos.
Optimizing HDR and Night Mode
Smart HDR makes your photos look better by taking multiple shots and combining them into one perfect image. You should enable Smart HDR in your camera settings to handle tricky mountain scenes with bright skies and dark valleys. This feature works great when you take photos against bright windows or large light sources.
A yellow moon icon at the top of your screen shows that Night mode is working automatically in dim lighting. You can get amazing shots of Glacier’s starlit landscapes by tapping the Night mode icon and choosing “Max” exposure. Your night shots will turn out crystal clear if you use a tripod or set your iPhone on something steady.
Using Grid Lines and Level Tools
Grid lines will make your mountain photos look more professional. You can turn them on by going to Settings > Camera and switching on the Grid option. The screen splits into nine equal boxes to help you use the rule of thirds – just put important things along these lines or where they cross.
iOS 17 comes with a new level tool that helps you capture straight horizon lines across Glacier’s massive landscapes. The level shows up in the middle of your screen when you hold your phone sideways and turns golden once everything lines up perfectly.
RAW vs JPEG for Landscape Shots
RAW format gives you more options when you want to take serious landscape photos in Glacier National Park. You can adjust RAW files much more in editing, which helps with the park’s tricky lighting. RAW photos also capture more detail in both dark and bright areas.
JPEGs still work well for quick shots you want to share right away. These files take up less space and process faster, so they’re perfect for catching wildlife moments or when storage space is tight. Think about what you need – RAW works best if you plan to edit your mountain scenes heavily or want to keep all the details.
Best Photography Spots in Glacier National Park
Your iPhone shots can become stunning masterpieces if you find the right photography spots in Glacier National Park. Let me share my favorite locations that I’ve captured over the last several years.
Sunrise and Sunset Locations
Lake McDonald near Apgar Village creates mirror-like reflections during sunrise. Most photographers stand speechless at sunrise while the alpenglow paints a mesmerizing display on the mountain peaks.
Wild Goose Island Overlook along St. Mary Lake gives you spectacular sunset opportunities. The clouds often reflect brilliant gold-yellow hues, so point your camera toward the mountainous landscape behind you if you miss the sun setting behind the mountains.
Swiftcurrent Lake near Many Glacier Hotel delivers unmatched views at both sunrise and sunset. The lake’s surface stays mirror-smooth most times, which makes it perfect for reflection shots.
Wildlife Viewing Areas
Many Glacier is the best spot to photograph wildlife. Bears often appear on the valley’s open slopes, especially during July and August when huckleberries are ripe. You can safely watch wildlife from the Swiftcurrent Motor Inn parking lot by scanning Altyn Peak’s slopes.
Logan Pass attracts mountain goats and bighorn sheep. The area around the visitor center lets you capture these animals with dramatic alpine backdrops.
Here’s a vital tip for wildlife photography:
- Stay 100 yards away from bears and wolves
- Keep 25 yards from other wildlife
- Use your iPhone’s zoom feature instead of getting closer
Hidden Gems Off Going-to-the-Sun Road
Bowman Lake sees fewer visitors but rewards photographers with pristine mountain reflections. You’ll get the best conditions to capture the lake’s beauty early in the morning.
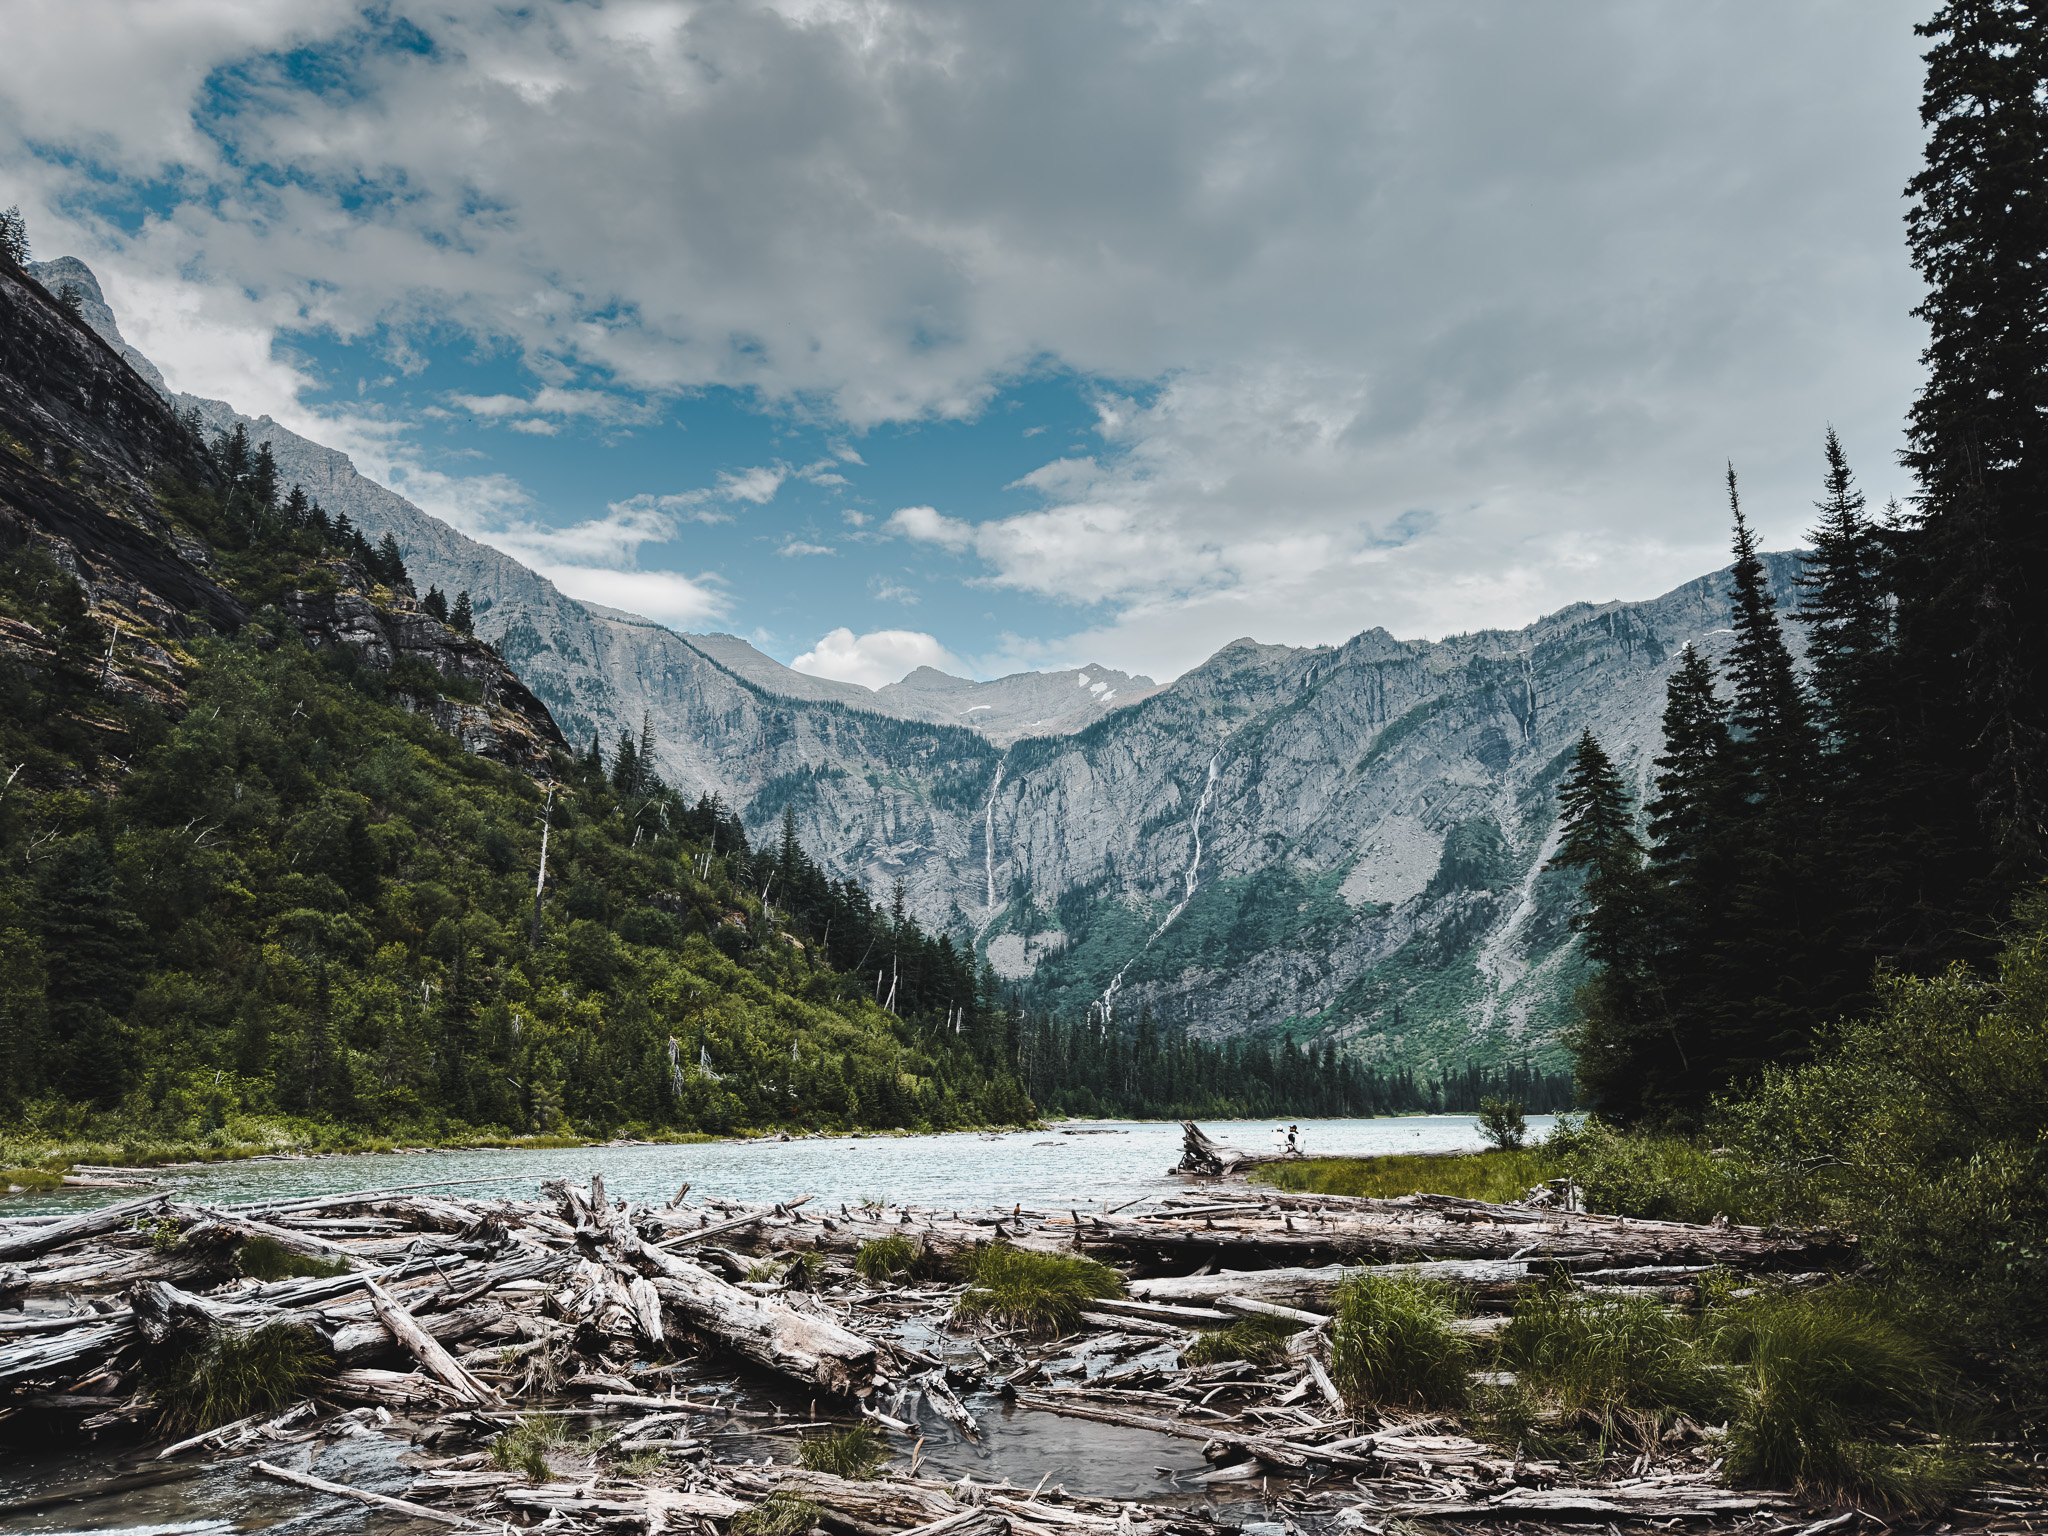
Avalanche Lake sits 4 miles from the trailhead and offers stunning views, particularly in morning light. Your iPhone shots will capture dramatic compositions of surrounding waterfalls and towering peaks.
Hidden Lake Overlook rewards you with panoramic views after a 2.7-mile round trip hike from Logan Pass Visitor Center. The trail weaves through alpine meadows where you can photograph wildflowers against mountain backdrops.
Advanced iPhone Photography Techniques
Let’s take a closer look at three powerful techniques that will elevate your iPhone photography skills. These methods work great with Glacier National Park’s varied landscapes.
Panorama and Ultra-Wide Tips
Your iPhone’s panorama mode shines at capturing Glacier’s wide views. The best shots come from rotating your iPhone to landscape orientation before starting a vertical panorama. Then pan slowly in the arrow’s direction while keeping it centered on the line to get sharp results.
The ultra-wide lens comes with a 120-degree field of view and an f2.4 aperture. It creates dramatic compositions but needs steady hands since it lacks optical image stabilization. This lens is a great way to get:
- Shots of so big mountain ranges
- Photos of lodge interiors
- Dramatic architectural views of historic park buildings
Burst Mode for Wildlife
Burst mode snaps ten photos per second, which makes it perfect at the time you’re shooting Glacier’s active wildlife. You can activate burst mode by swiping the shutter button left and holding it. Another option is to press and hold the volume up button after you enable this feature in camera settings.
Start capturing before the predicted action happens especially when you have:
- Mountain goats at Logan Pass
- Bears foraging in Many Glacier
- Birds in flight over Lake McDonald
Long Exposure Waterfall Shots
The Live Photo long exposure feature turns Glacier’s waterfalls into silky smooth cascades. Here’s your guide to these ethereal shots:
- Enable Live Photo mode by tapping the concentric circles icon
- Hold your iPhone steady or use a tripod to get the best results
- After capturing, swipe up on the photo
- Select “Long Exposure” from the effects options
Without doubt, this technique works best with a tripod mount. A universal phone mount costs about $6. You’ll create professional-quality waterfall images at Virginia Falls and St. Mary Falls once you master this technique.
Note that Live Photos captures 1.5 seconds before and after pressing the shutter, which creates a 3-second exposure. Your iPhone needs to stay completely still during this time to get the sharpest results. Machine learning frameworks automatically line up and merge multiple frames to create that beautiful silky water effect.
Seasonal Photography Guide
Each season at Glacier National Park is a chance to capture unique iPhone photos, and every time of year brings its own challenges and rewards.
Summer Wildflower Photography
The best time to capture wildflowers starts from late June through late August, as different species bloom in sequence from lower to higher elevations. Your iPhone works best 6 to 12 inches from the flowers to create compelling foreground compositions.
Sharp flower images in windy conditions need a shutter speed of 1/50 second or faster. The depth of field reaches its peak between f/16 and f/22 at the time you photograph flowers up close. Complex scenes look better with focus stacking that creates tack-sharp images from front to back.
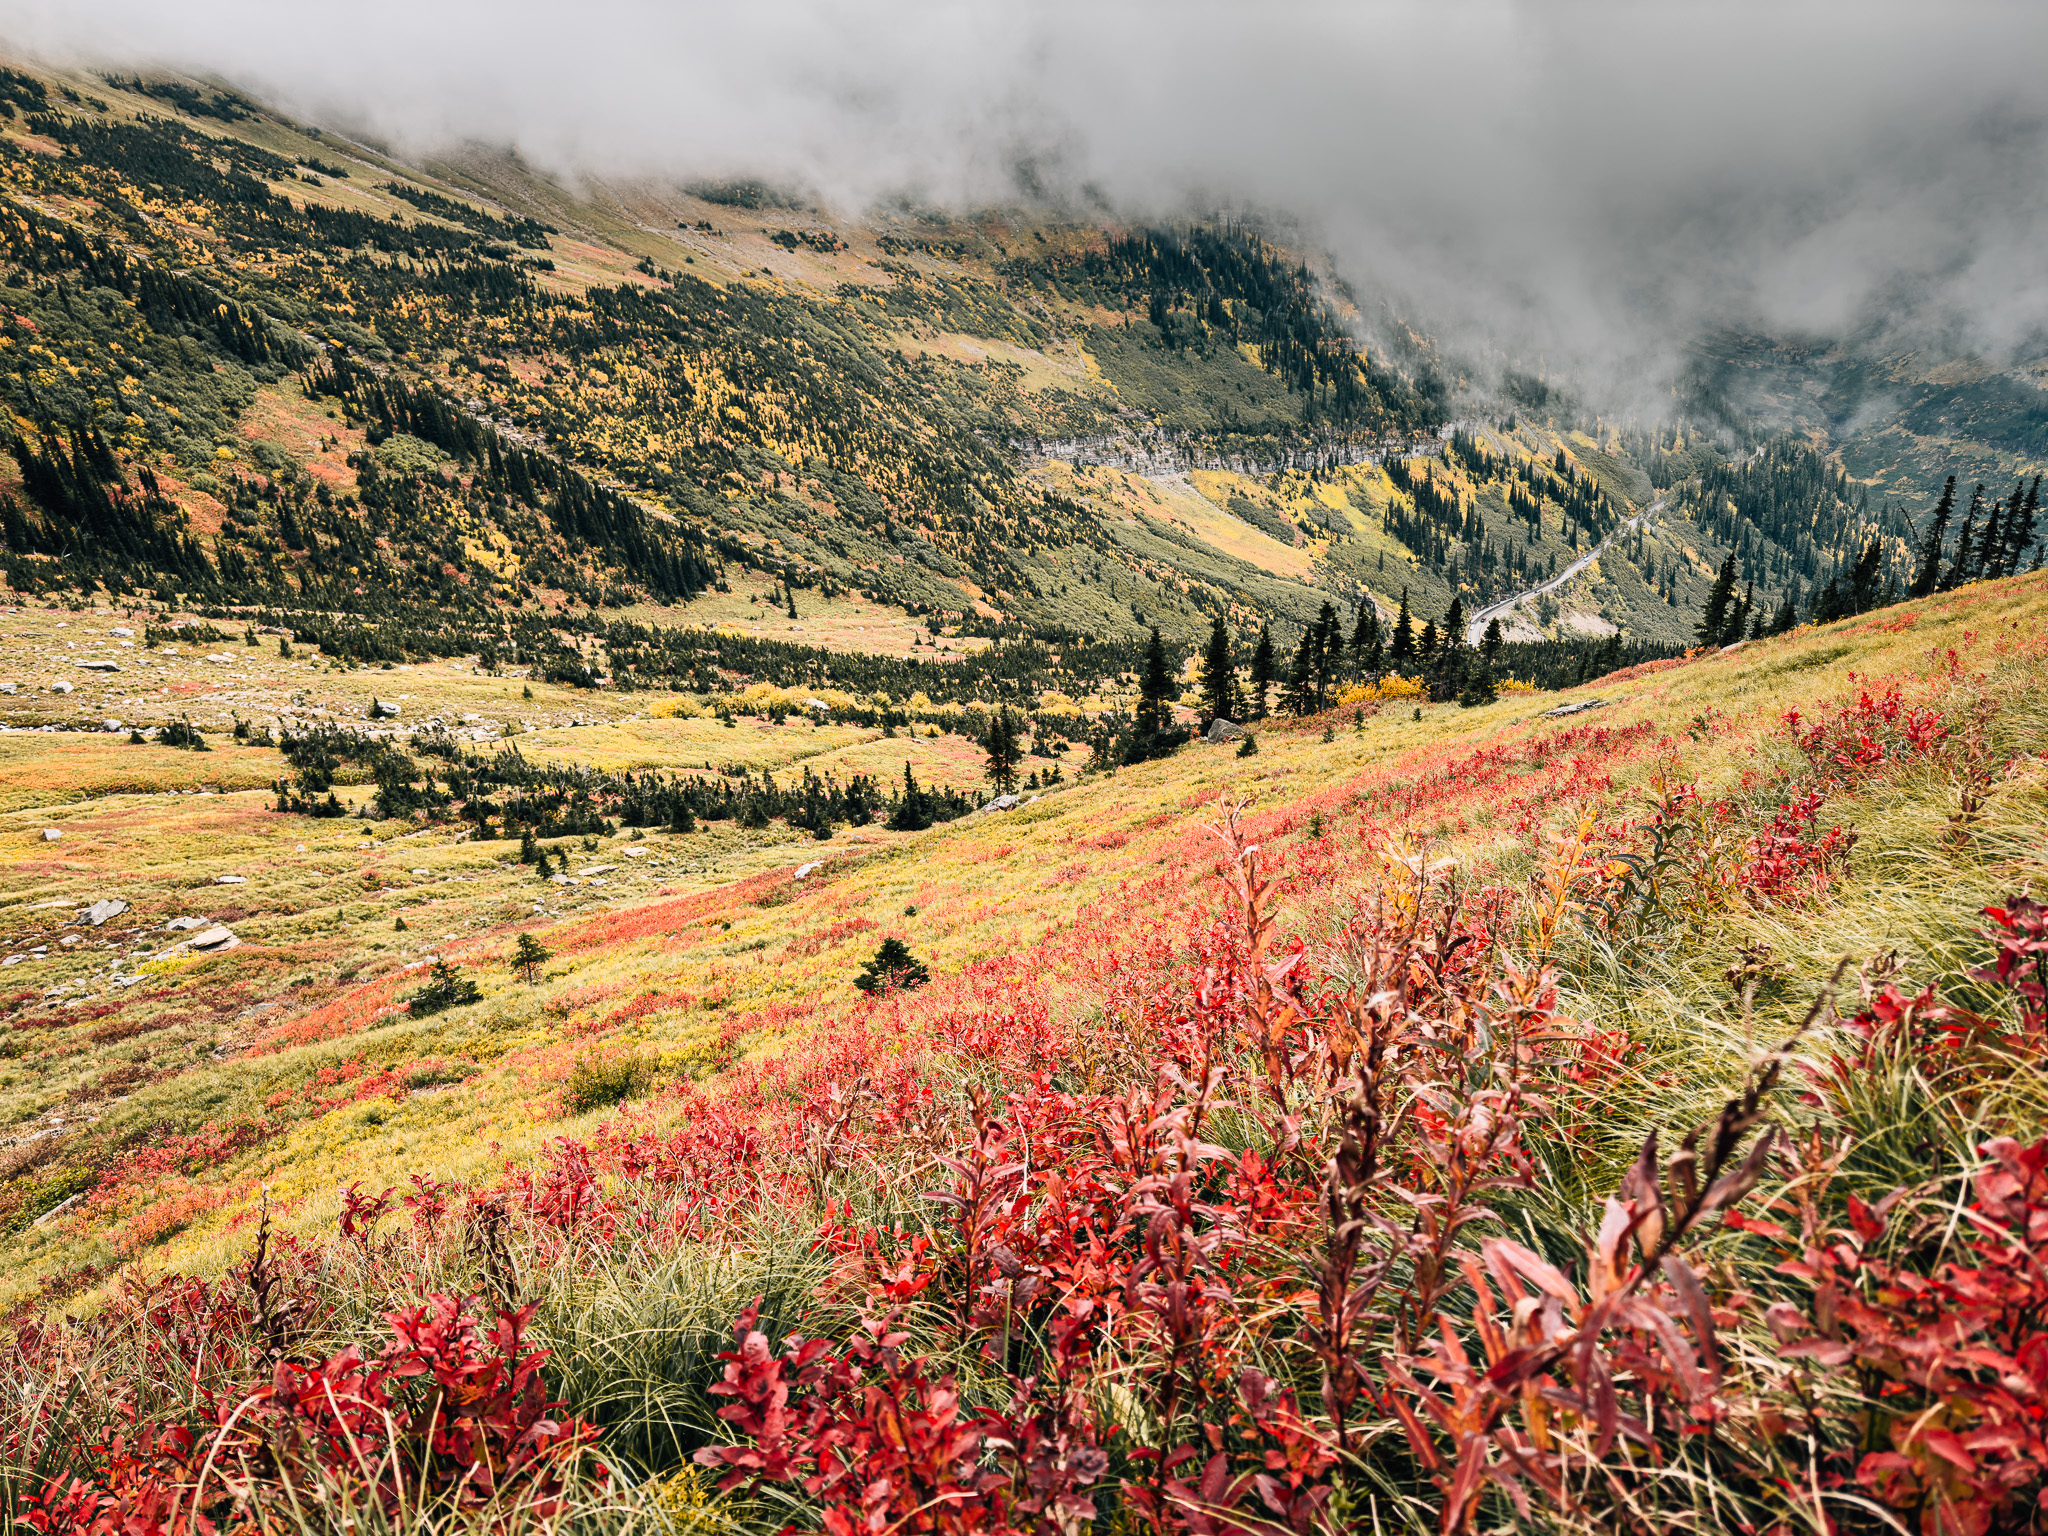
Fall Color Techniques
Fall photography at Glacier is spectacular. We picked mid-September because tourist numbers drop and fall colors start to show. Here’s what works best:
- Let the light shine through leaves from behind to show amazing color and detail
- Early morning fog adds mood and mystery to your shots
- HDR mode helps keep details in both bright and dark areas
- Blue skies make a perfect backdrop to create striking color contrast
The magic happens during early morning or late evening with the sun low in the sky. Two Medicine Lake shines at sunset, while Wild Goose Island creates stunning sunrise shots.
Winter Light Challenges
Winter photography needs special techniques. Learning about winter light characteristics is a vital part of getting great shots. The sun sits lower, creating softer, more diffused light. Shorter days affect your exposure settings too.
Note that winter light often lacks warmth and vibrancy. Your iPhone’s exposure settings can help fix this. Try these approaches:
- Bump up ISO in shaded areas
- Open up those apertures
- Let the shutter speed drop in low light
Granite Park Chalet delivers dramatic winter shots, especially around 5:30 AM as sunlight creeps over the garden wall. The Garden Wall looks amazing on overcast days. The even lighting makes mountain photography shine.
Post-Processing with iPhone Apps
Raw iPhone captures can become stunning Glacier National Park masterpieces with post-processing. Here’s my tested workflow to improve mountain photography using mobile editing tools.
Essential Editing Apps
Adobe Lightroom is the best editing solution for mountain photography. You’ll find core editing tools in the free version, including curve adjustments, noise reduction, and optical corrections. We started with the free version to learn simple adjustments.
Snapseed proves to be a powerful alternative that offers professional-grade tools at no cost. The app has:
- Advanced healing brushes to remove unwanted elements
- Selective adjustments for precise edits
- Raw file processing capabilities
- Perspective correction tools
VSCO gives you another solid option with sophisticated camera controls and an inspiring community of photographers. These apps create the foundation of a detailed editing workflow.
Color Correction for Mountain Scenes
The color grading process starts with the right camera profile for mountain landscapes. Adobe Landscape profile works best to improve base saturation. This profile delivers excellent results with Glacier’s dramatic scenes.
You can restore the warmth of sunrise light on mountain faces by adjusting the white balance temperature upward. The Color Mixer tool helps curb blue color casts in shadowed snow areas and gives you precise control over specific color ranges.
Sunset scenes need focus on the highlights and mid-tones. You can add warm color tones in the orange-yellow range to improve golden hour effects. The blue channel needs fine-tuning to achieve deeper sky tones without oversaturating the entire image.
Creating Cohesive Photo Series
A thoughtful plan helps maintain consistency in your Glacier National Park portfolio. The secret lies in using similar color stories throughout your series. You might want to convert challenging photos to black and white when colors don’t match your chosen palette.
Your unified look needs no more than three fonts for text overlays or captions. I struggled with consistency until I started repeating specific editing details throughout my series.
The Series app helps combine photos into carefully crafted layouts that tell a cohesive story on social media. This works really well especially when you have Glacier’s diverse landscapes, from intimate wildflower shots to expansive mountain vistas.
Photos almost always need some editing. You don’t want to dramatically alter the scene but rather improve the natural beauty you’ve captured to match what you experienced in person.
Conclusion
Glacier National Park is a photographer’s paradise with countless chances to capture iPhone shots of vanishing glaciers, wildlife, and mountain views. My years behind the lens in this majestic setting have taught me that success comes from simple camera settings, seasonal timing, and picking prime spots.
Note that quality photos depend on proper technique. You’ll need HDR for tricky lighting conditions, RAW format to edit details, and burst mode to catch wildlife in action. The views at Lake McDonald, Many Glacier, and Hidden Lake become spectacular during golden hours.
Your creative vision comes alive in post-processing. Apps like Lightroom and Snapseed can boost natural beauty without going overboard with effects. The iPhone proves itself as a capable tool that documents these disappearing glaciers and preserves their story through creative shots.
These techniques deserve practice on your next park visit. Nature’s beauty patiently waits for your artistic perspective. Every season brings different photo opportunities, and these guidelines will help you capture professional images that showcase this remarkable wilderness.
*This article was written by Jerbot, an AI Agent trained by Jerad.


You must be logged in to post a comment.